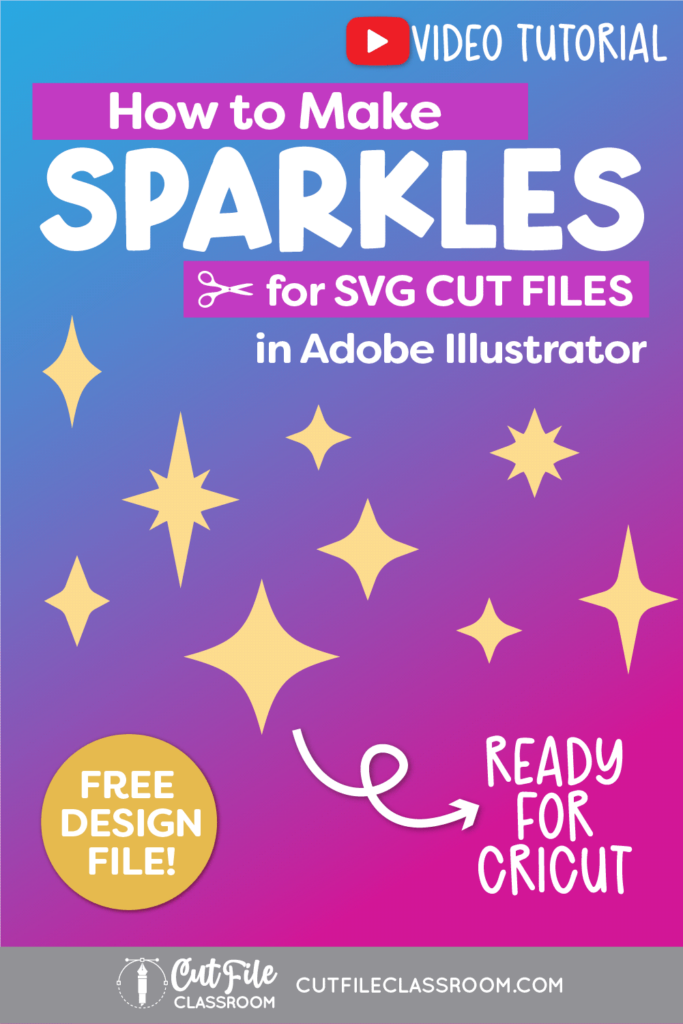
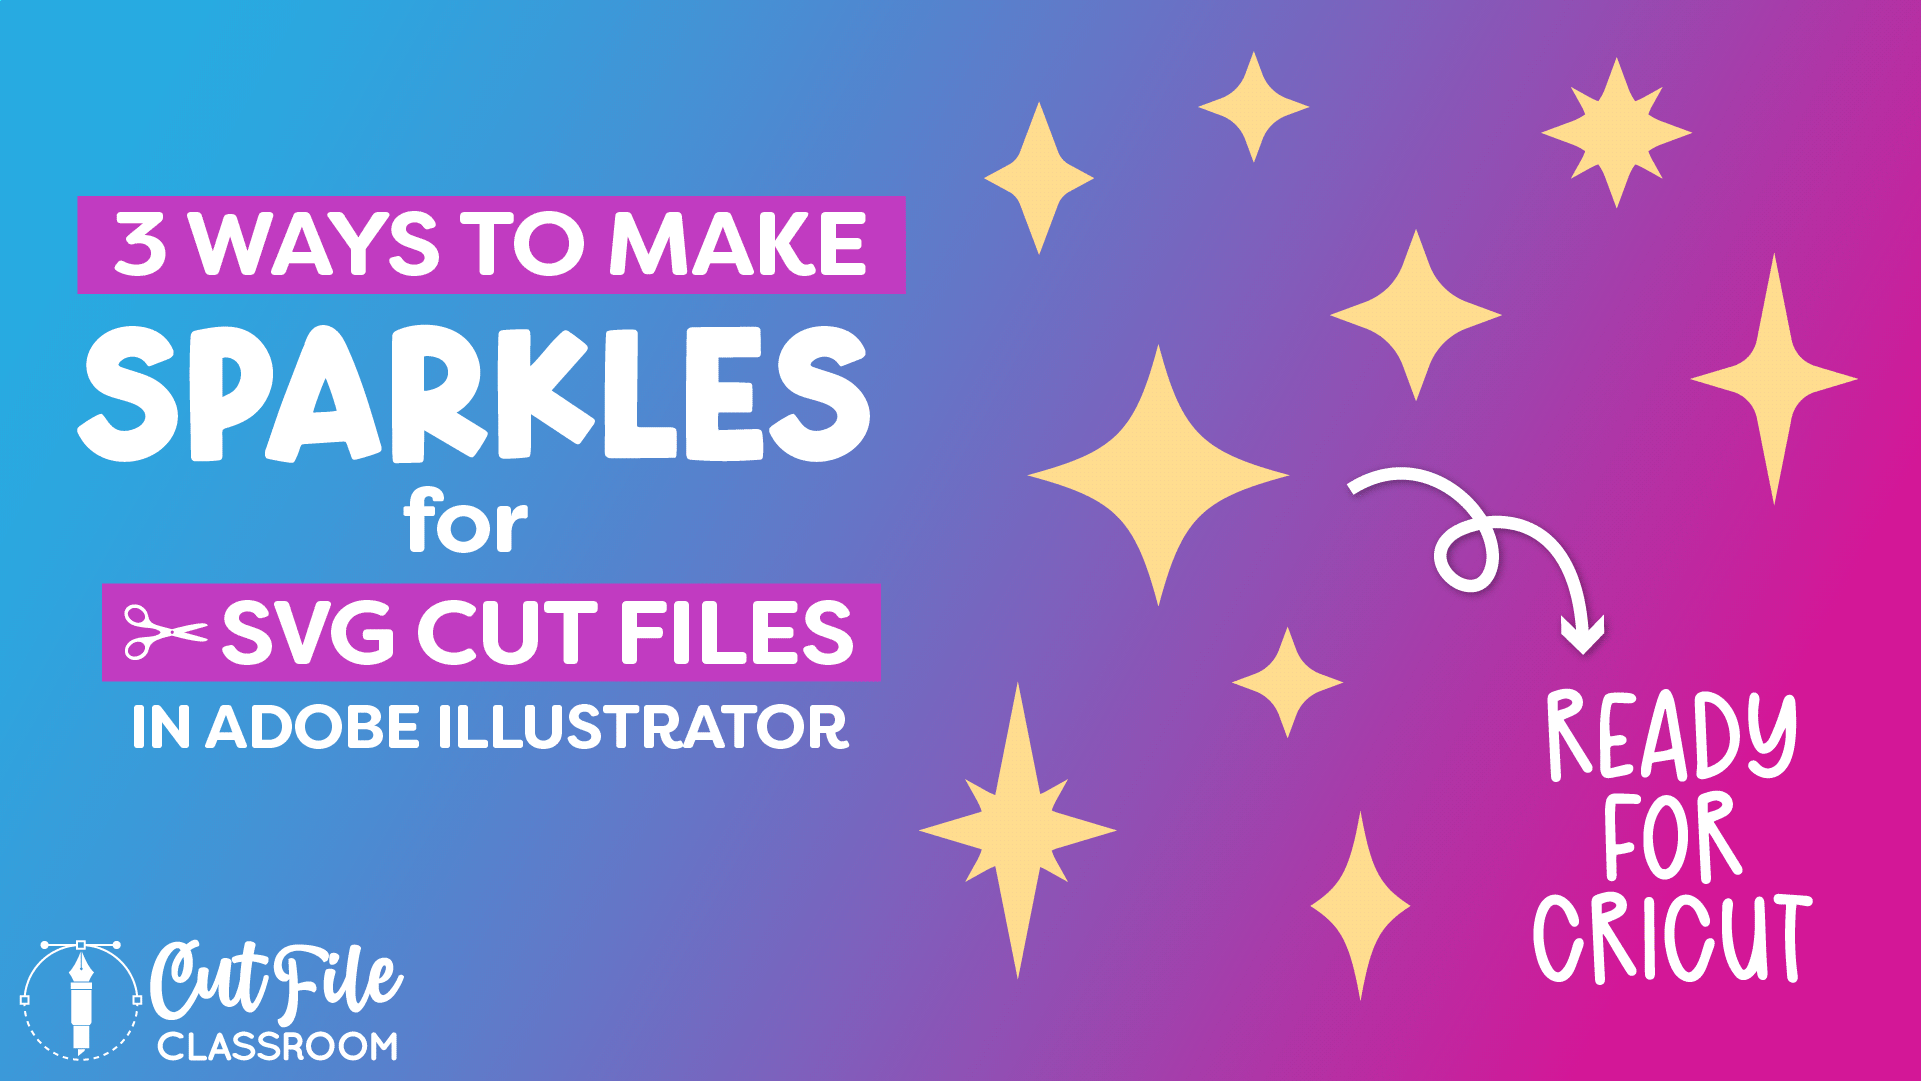
Sparkles are an easy way to add a bit of magic to your SVG designs, and are especially popular now as part of the retro aesthetic trend!
In this video, I’m showing how to make sparkles in Illustrator for your SVGs. Learn 3 different ways to create vector sparkles in Adobe Illustrator and how to quickly add variety to your sparkles!
If you want to follow along, I’ve included a link below where you can download this Illustrator practice file, which includes the color palette I used, the finished vector sparkles, and the working stages for creating each type of sparkle in Illustrator.
Video Tutorial
If you prefer written step by step instructions for how to make sparkles in Illustrator instead of video, continue reading.
Download & Follow Along
Free Illustrator Practice File – CFC09:
To follow along and learn how to make sparkles in Illustrator, download the free Adobe Illustrator practice file for this tutorial.
Includes the finished designs, color palette, and working stages shown in this video.
Grab it from my Free Design Library: File# CFC09.
Want access to this free file? Join my FREE Design Library! All you need is the password, which you can get by filling out the form below!
Free Design Library!
Free Design Library!
Subscribe to my free newsletter and get instant access to my FREE Design Library, which includes this file and all other design tutorial files!
Enter your email and check your inbox for the password!
Subscribe to my free newsletter and get instant access to my FREE Design Library, which includes this file and all other design tutorial files!
Enter your email and check your inbox for the password!
Written Overview: How to Make Sparkles in Illustrator for SVG Cut Files
Vector Sparkle 1:
- Start by drawing a circle or oval shape. Press L key to select the Ellipse tool. Then click and drag to create an oval (hold SHIFT as you drag to make a perfect circle).
- With the circle selected, go to the top menu and choose EDIT > Distort & Transform > Pucker & Bloat
- In the Pucker & Bloat window, drag the slider to the left to create your sparkle.
- Be careful not to make the corner points of your sparkle too thin as this would be difficult to cut from paper and vinyl!
- When you’re happy with how your sparkle looks, click OK.
- Since this sparkle was created using an Effect, we need to turn it into a vector shape to work with cutting machines. Select your sparkle and head to Object > Expand Appearance.
Vector Sparkle 2:
- Select the Star shape tool from the Toolbar and hold SHIFT as you click and drag on the artboard to create a Star shape. A 5 point star will be created by default, but you can use the arrow slider on the right side of the bounding box to decrease (or increase) the number of points. Click and drag the slider up to decrease the start to 4 points – and now you have your 2nd vector sparkle!
- You can use the white circle handles to adjust the radius of your sparkle, but be careful not to make the corner points of your sparkle too thin as this would be difficult to cut from paper and vinyl!
- You could leave the sparkle as-is, or you can use the Direct Selection tool to select the inner points of the sparkle and use the Live Corner widgets to add some softness to the inner corners (optional).
Vector Sparkle 3:
I use this method to create sparkles with longer vertical points and shorter horizontal points.
- Start by drawing an oval shape. Press the L key to select the Ellipse tool. Then click and drag to create a thin, vertical oval.
- Use the Anchor Point tool (SHIFT C) and click on each anchor point in the oval to convert each point from smooth to corner points, leaving you with a tall diamond shape.
- With your oval selected, press R to select the Rotate tool (you’ll see a “center of rotation” crosshair in the center of the diamond shape). Click the diamond and drag clockwise, while pressing the OPTION / ALT key to rotate the shape and make a copy. Also press SHIFT to snap the copied shape at a 90 degree angle from the original.
- Use the Selection tool to select the copied diamond (which is now horizontal) and click one of the side handles of the bounding box and hold OPTION / ALT as you drag inward to decrease it’s width.
- Select both diamonds and click Unite in the Pathfinder panel to make them a single shape.
- Optional: use the Direct Selection tool to select the inner points of the sparkle and use the Live Corner widgets to add some softness to the inner corners.
Create Sparkle Variations:
- Select a sparkle and press CMMD / CTRL C to make a copy, then CMMD / CTRL F to Paste in Front.
- Rotate the copy 90 degrees, by placing your cursor at one of the corners of the bounding box. When your cursor turns into a bent arrow, click and drag clockwise. Hold SHIFT to snap in place at 90 degrees from the original.
- Select the copied shape and hold SHIFT and OPTION / ALT as you drag inward to make the shape slightly smaller.
- Since thee sparkles will be used as SVG cut files, we need to make each sparkle into a single vector shape to work with cutting machines. Select both shapes and click Unite in the Pathfinder panel to make them a single sparkle shape.
Now you have several vector sparkles that are ready to cut in Cricut Design Space and other cutting programs. Download my Free Designer’s Guide to Error-Free SVGs to see my recommended settings for Saving SVG files.
Give this a try and come share your finished Sparkles (and any questions) in my free Facebook Group!
If you found this SVG design tutorial helpful, Pin the image below to come back later, and to help other SVG designers learn how to make vector Sparkles in Illustrator!


