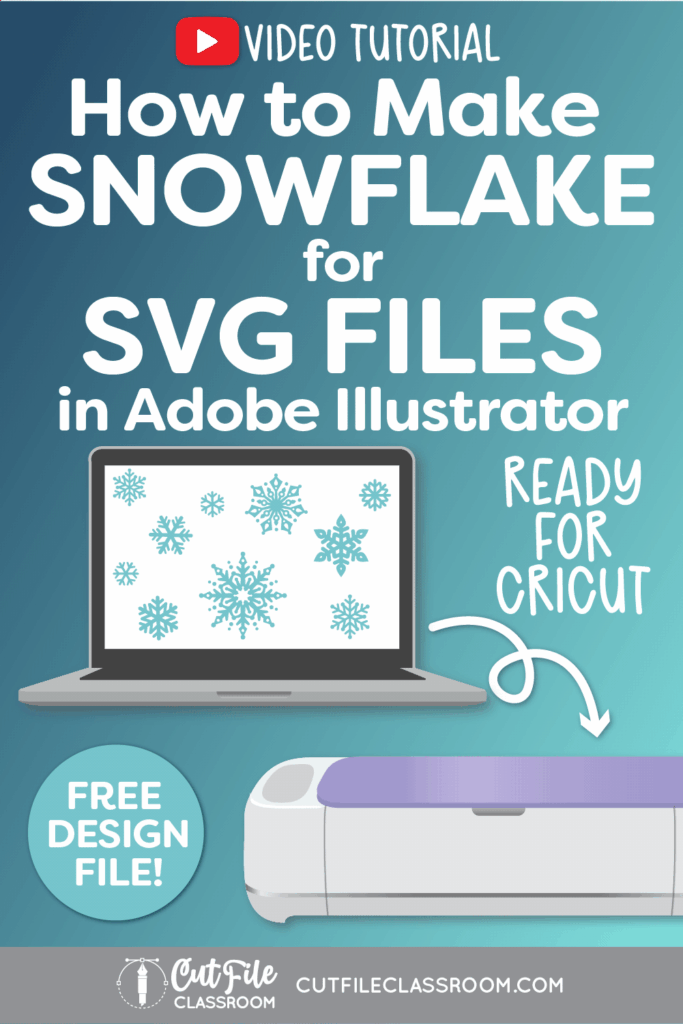
Learn how to make snowflake SVG files for Cricut using Adobe Illustrator! In this beginner-friendly video tutorial, I’ll walk you through the exact steps I use to create snowflake designs that cut cleanly – without broken paths, unexpected overlaps, or frustrating errors in Design Space and other cutting machine programs.
If you’ve ever downloaded or designed a snowflake SVG that didn’t cut the way you expected, you’re not alone. Intricate designs like snowflakes can be especially tricky for cutting machines if they’re not built correctly. In this video, you’ll learn how to design snowflakes the right way so they’re fully cuttable, easy to use, and compatible across different machines and software.
First, I’ll show you how to create a simple but elegant snowflake from scratch in Illustrator, explain which design choices matter most for clean cuts from different materials, and share tips to avoid common mistakes that can cause issues once your SVG is uploaded.
If you’d like to follow along, I’ve included a link below to download the Illustrator practice file, which includes several finished snowflake SVGs, along with their working versions, so you can see exactly how each one is structured.
Video Tutorial: How to Make Snowflake SVG Files for Cricut
If you prefer written step by step instructions for how to make Snowflake SVG Files for Cricut in Illustrator instead of video, continue reading.
Download & Follow Along
Free Illustrator Practice File – CFC014:
To follow along and learn how to make Snowflake SVG Files for Cricut in Illustrator, download the free Adobe Illustrator practice file for this tutorial.
Includes the finished designs and color palletes shown in this video.
Grab it from my Free Design Library: File # CFC014.
Want access to this free file? Join my FREE Design Library! All you need is the password, which you can get by filling out the form below!
Free Design Library!
Subscribe to my free newsletter and get instant access to my FREE Design Library, which includes this file and all other design tutorial files!
Enter your email and check your inbox for the password!
Written Overview: How to Make Snowflake SVG Files for Cricut
Design Simple Snowflake SVG:
- When creating snowflakes, I like to have the Grid Lines visible on my screen. Choose View > Show Grid to make grid visible on your screen. I also like to make sure “Smart Guides” are enabled (also found in the View menu).
- Use the Line tool (backslash key \ ) to draw a straight vertical line. Give it a stroke color (no fill) and a stroke weight (I used 8pt).
- With the line selected, choose Object > Repeat > Radial from the top menu, and your line segment will be repeated in multiple instances (copies) going around a circle. You can use the slider at the right side of the radial repeat to increase or decrease the number of instances in your snowflake. (I’m using 6 instances).
- Use the Selection tool to drag the radial repeat so it is aligned with the horizontal and vertical gridlines, so that the center of the radial circle aligns where the bold gridlines cross.
- Double click on the original line segment, this will enter Isolation Mode so that you’ll just be working with the line segment and any changes you make to the line segment will be repeated on every instance in the radial repeat.
- Now you can use the Line tool or Pen tool to draw additional “branches” / “arms” on both sides of the original line. You will start to see your changes appear to all of the instances in real time and your design will start to look like a snowflake.
- For a simply snowflake, only 1 set of branches / arms is needed.
- I also like to give my lines a rounded cap in the Stroke panel (optional).
- Once you’re finished designing your snowflake, you can double-click away from the radial repeat to exit isolation mode.
Make Simple Snowflake SVG into a Cut File:
- Using the Selection tool, select the snowflake radial repeat, and hold ALT / OPTION key as you click and drag to create a copy off to the side of the canvas. (You can always come back to this copied radial repeat and edit or make more snowflake variations).
- Select the original radial repeat and choose Object > Expand. In the Expand options window, leave “Fills” and “Strokes” checked and click OK.
- Now the radial repeat has been converted into fixed vector paths & shapes, so now any changes you make to part of the design will not affect any of the other instances.
- Next, we need to create vector outlines for the strokes in the snowflake design. Select the snowflake design, and choose Object > Path > Outline Path. This will convert selected stroke lines into vector shapes that a cutting machine can follow. However, our snowflake is made from many overlapping vector shapes which is not ideal for cutting machines.
- With the Snowflake still selected, click “Unite” in the Pathfinder panel, which will combine all selected vector shapes into a single shape that would be easy for a cutting machine to follow.
- Now your simple snowflake is complete!
Design Detailed Snowflake SVG:
- Use the Line tool (backslash key \ ) to draw a straight vertical line. Give it a stroke color (no fill) and a stroke weight (I used 8pt).
- With the line selected, choose Object > Repeat > Radial from the top menu, and your line segment will be repeated in multiple instances (copies) going around a circle. You can use the slider at the right side of the radial repeat to increase or decrease the number of instances in your snowflake. (I’m using 8 instances).
- Use the Selection tool to drag the radial repeat so it is aligned with the horizontal and vertical gridlines, so that the center of the radial circle aligns where the bold gridlines cross.
- Double click on the original line segment, this will enter Isolation Mode so that you’ll just be working with the line segment and any changes you make to the line segment will be repeated on every instance in the radial repeat.
- Now you can use the Line tool or Pen tool to draw additional “branches” / “arms” on both sides of the original line. You will start to see your changes appear to all of the instances in real time and your design will start to look like a snowflake.
- For a detailed snowflake, you can draw multiple branches, use shapes, pathfinder operations etc. to create intricate snowflake designs. Have fun and get creating, using the real-time preview to see what you like!
- To make sure your design is cutting machine friendly, make sure your stroke lines are not too thin, or they will be hard to cut and weed!
- If your design will be cut from paper, make sure all elements of the design are connected so they cut as a single shape.
- If your design will be cut from vinyl / HTV, you could include free-floating elements in your snowflake design.
- Once you’re finished designing your snowflake, you can double-click away from the radial repeat to exit isolation mode.
Make Detailed Snowflake SVG into a Cut File:
- Using the Selection tool, select the snowflake radial repeat, and hold ALT / OPTION key as you click and drag to create a copy off to the side of the canvas. (You can always come back to this copied radial repeat and edit or make more snowflake variations).
- Select the original radial repeat and choose Object > Expand. In the Expand options window, leave “Fills” and “Strokes” checked and click OK.
- Now the radial repeat has been converted into fixed vector paths & shapes, so now any changes you make to part of the design will not affect any of the other instances.
- Next, we need to create vector outlines for the strokes in the snowflake design. Select the snowflake design, and choose Object > Path > Outline Path. This will convert selected stroke lines into vector shapes that a cutting machine can follow. However, our snowflake is made from many overlapping vector shapes which is not ideal for cutting machines.
- With the Snowflake still selected, click “Unite” in the Pathfinder panel, which will combine all selected vector shapes into a single shape that would be easy for a cutting machine to follow.
- If there are any free-floating elements in your design, choose Object > Compound Path > Make to make sure these elements cut correctly in cutting machines.
- Now your simple snowflake is complete!
Now you know how to make snowflake SVG files that are ready to cut in Cricut Design Space and other cutting programs. Download my Free Designer’s Guide to Error-Free SVGs to see my recommended settings for Saving SVG files.
Give this a try and come share your finished snowflake designs (and any questions) in my free Facebook Group!
Want to learn how to design and sell any kind of SVG cut files from scratch in Illustrator? My upcoming SVG design course will cover everything you need to know! Join the Cut File Academy Waitlist to stay tuned!
If you have any requests for future SVG tutorials, drop a comment below – I’d love to hear ’em!
If you found this SVG design tutorial helpful, Pin the image below to come back later, and to help other SVG designers learn how to make Snowflake SVG files for Cricut in Illustrator and other cutting machines!