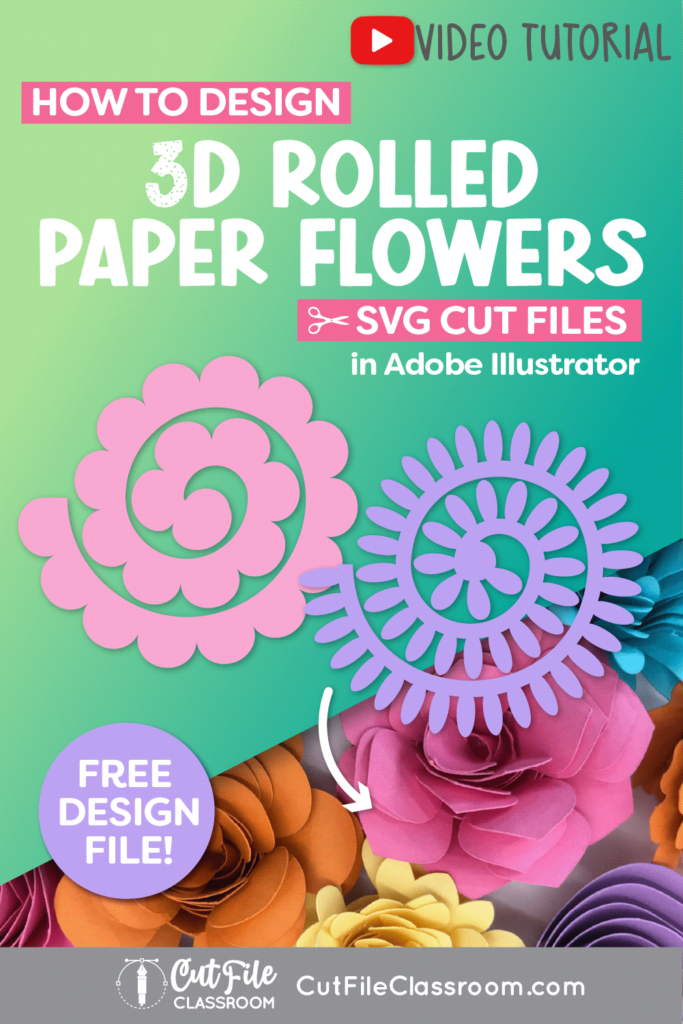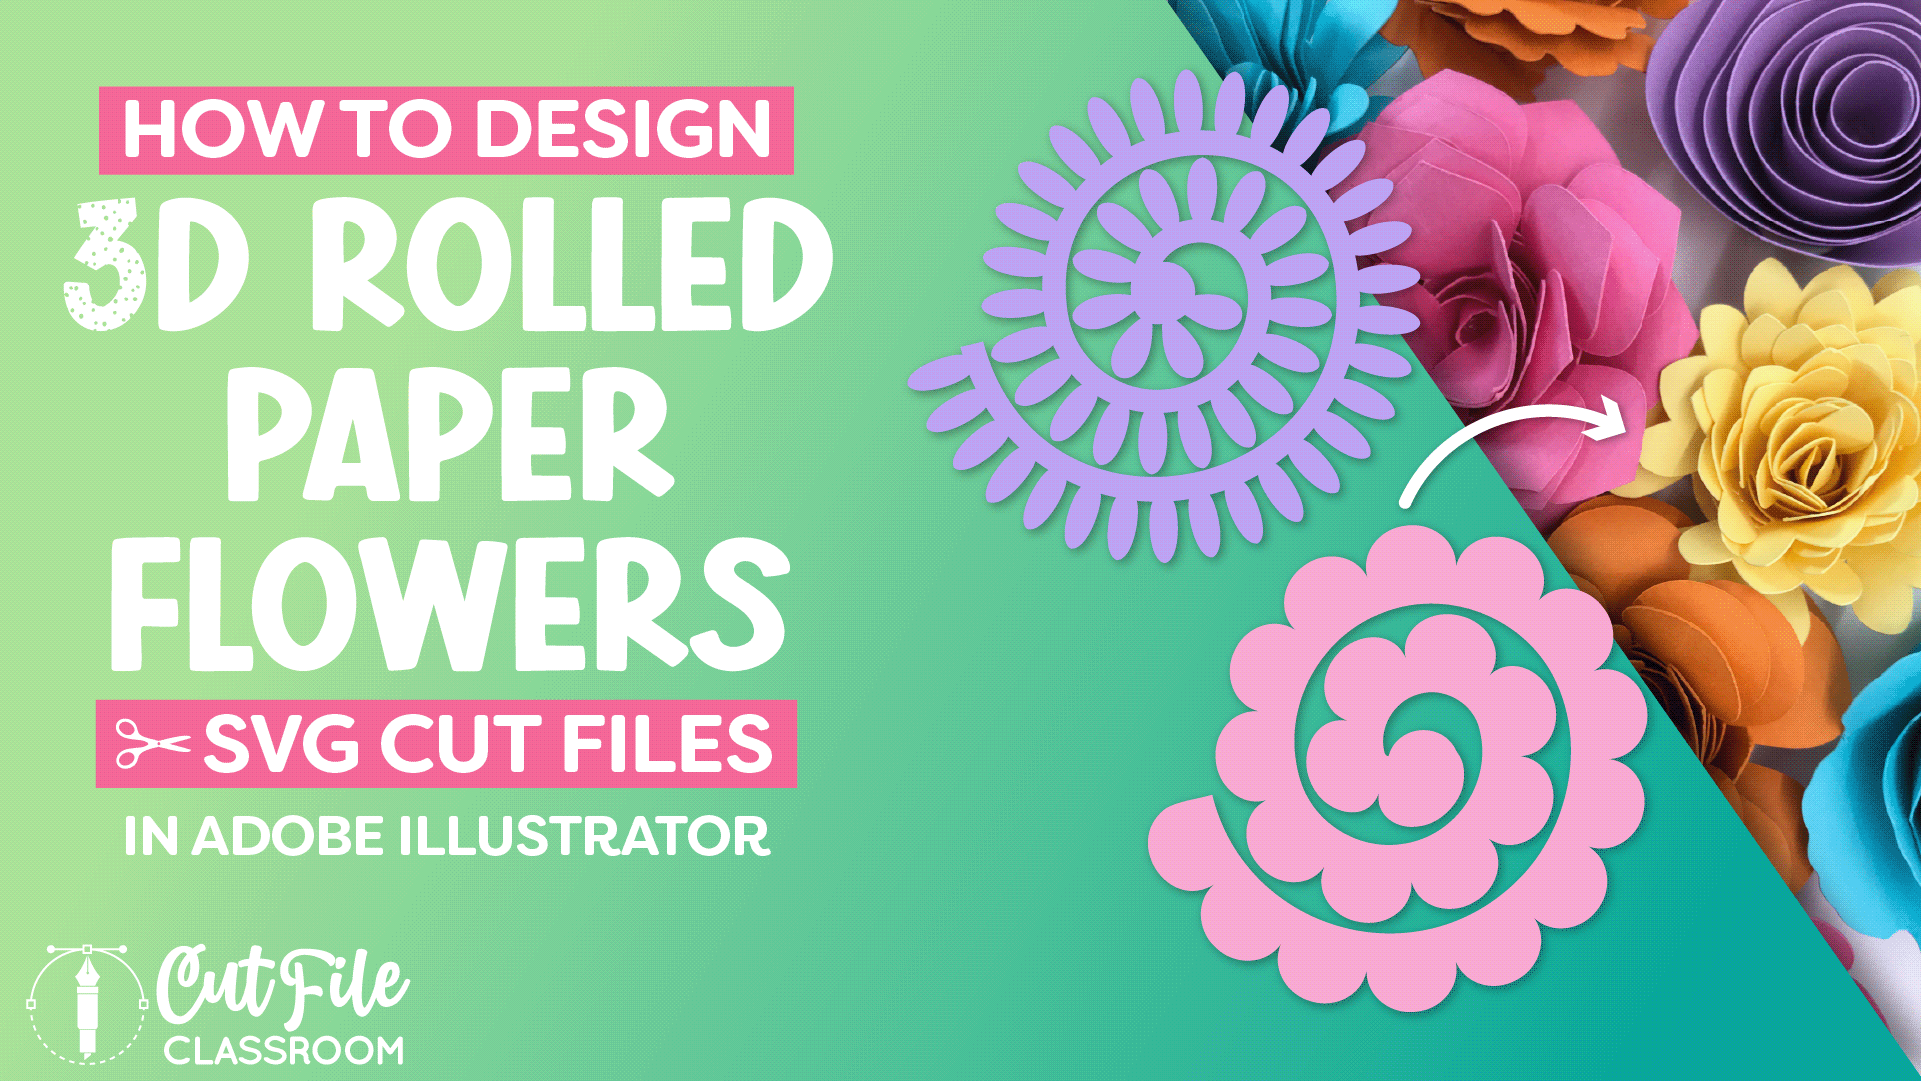
3D rolled paper flowers have been very popular in crafting for several years now with no signs of slowing down! Rolled flower designs start with a spiral shape, which is typically cut from paper, and then rolled to create a 3D flower. The look of the finished flower will vary depending on how the petals are designed.
In this video, learn how to design 3D rolled paper flowers in Adobe Illustrator. The cool thing about this type of design is that once you set it up in Illustrator, you can easily create tons of 3D rolled flower designs quickly and easily!
If you want to follow along, you can download the Illustrator practice file, which includes these finished rolled flower designs, the vector spiral shape, and 2 sample petal brushes!
Video Tutorial: How to Make SVG Files – 3D Rolled Flowers
If you prefer written step by step instructions instead of video, continue reading.
Download & Follow Along
Free Illustrator Practice File – CFC03:
To follow along and learn how to design 3D rolled paper flowers SVG Files in Adobe Illustrator for Cricut, download the free Adobe Illustrator practice file for this tutorial.
Includes the finished design, the vector spiral shape, and 2 sample petal brushes shown in this video.
Grab it from my Free Design Library: File# CFC03.
Want access to this free file? Join my FREE Design Library! All you need is the password, which you can get by filling out the form below!
Free Design Library!
Subscribe to my free newsletter and get instant access to my FREE Design Library, which includes this file and all other design tutorial files!
Enter your email and check your inbox for the password!
Written Overview: How to Design 3D Rolled Paper Flowers in Adobe Illustrator
To design 3D rolled flower SVG files in Adobe Illustrator:
Create Linear Spiral:
- First we need to create a spiral shape.
- Even though Illustrator has a Spiral tool, we do not want to use it for this design because it creates uneven spirals For this design, we need a Linear spiral which has even spacing throughout.
- To create a linear spiral, select the Polar Grid tool, which is hidden here under the Line tool.
- With the Polar Grid tool selected, click once on the artboard to bring up the Polar Grid settings. In this example I used a 5” x 5” spiral, and set the “Concentric Dividers” to 4. You can adjust this number depending on how big or small you want your flower to be.
- Make sure “Radial Dividers” is set to 0, and leave the bottom options Unchecked, then click OK to create a polar grid based on those settings.
- To make this a spiral, choose the Direct Selection tool, then click and drag to select the only top half of the polar grid.
- Then press CMMD+X (Mac) or CTRL + X (PC) to cut the top half, and CMMD+F (Mac) or CTRL + F (PC) to paste it in front.
- With the top half still selected, shift it over to the right. (Make sure that Smart Guides and Snap to Point are turned on – both are found in the View menu.) Now, with the top half of the circle still selected, click and drag it to the right until the lines meet up with the next row. When they snap into place, release the mouse. Now we have created a linear spiral.
- But we have 2 spirals, and we only need 1. Use the Group Selection tool to select every other line starting from the top and going down to the bottom. (Hold SHIFT as you click on each line to select multiple paths at the same time.)
- With the extra spiral selected, you can delete them, which leaves a single linear spiral.
- The top and bottom halves are still separate paths, so they need to be connected. Select the full spiral, and head to Object > Path > Join, or press CMMD+J (Mac) or CTRL + J (PC) to join the paths. And now you have a continuous linear spiral path that can be used over and over to create different rolled flower designs.
- Before we create a flower, place a circle at the center of the spiral. Press L to select the Ellipse tool, and hold SHIFT as you click and drag to make a perfect circle. Place the circle at the center of the spiral. This helps serve as a base for the flower when it’s assembled.
Design Rolled Flower – Continuous Petals
Generally, rolled flowers will have 2 types of petals: in this first type, the petals are pretty wide and flow right into each other. Let’s create a basic scallop design, since this is one of the most common styles of rolled flowers.
- The scallop shape is essentially a semi-circle, so press the L key to bring up the Ellipse tool again. Hold SHIFT as you click and drag to make a perfect circle. Then select the bottom anchor point and delete it, leaving just the top half of the circle.
- Press the M key to grab the Rectangle tool, then click and drag to draw a rectangle shape right under the half circle. With Smart Guides turned on, it’s easier to draw a rectangle so it lines up perfectly with the half circle.
- To combine the half-circle and rectangle into a single shape, select them both and click Unite in the Pathfinder panel. (If you don’t have the Pathfinder panel open, you can head to the Windows menu and select Pathfinder to bring it up on your screen.)
- To repeat the petal shape around the spiral path, we’re going to make it into a pattern brush. Select the petal shape and drag it into the Brushes panel. (If you don’t have the Brushes panel open, head to Windows > Brushes to open it up.)
- Select the petal shape and drag it into the Brushes panel.
- In the New Brush window, choose Pattern Brush and click OK.
- In the Brush Options widow, we can see how the brush is going to look. For this design, leave all of the settings as-is, and click OK.
- Now the new scallop brush has been added to the bottom of the Brushes panel. To apply this brush to the spiral, click on the Spiral using the Selection tool, then click on the new scallop brush in the Brushes panel. Now the scallops brush has been applied to the spiral.
- At this point, check your design to make sure that there is some space between the top of the petals, and the bottom edge of the next coil. If your petals are too big, and they overlap, you can decrease the Stroke weight to make the petals smaller. In this case, I’m going to keep the Stroke at 1pt.
- Since this is a cut file, we need to expand the brush into an actual vector shape. (First make a copy of this brush spiral over to the side of the workspace so you can come back to this later and make changes if needed).
- Then select the full design, including the center circle, and in the top menu, choose Object > Expand Appearance. Now the brush has been expanded into individual vector shapes. While everything is still selected, click Unite in the Pathfinder panel to make it all one single shape.
- The final step is to use Simplify to clean up all of the extra anchor points (nodes), because excess nodes are not good for cutting machines. With the shape selected, right-click and choose Simplify.
- In the window that appears, you can adjust the settings depending on your design and click OK.
- And now the scallop flower is done!
Design Rolled Flower – Separated Petals
For the 2nd type of flower, the petals are individually defined, and spaced out, so they need a connector to hold them together, which is a rectangle at the bottom. There are tons of different petal designs you could create, in this example we’ll create a skinny daisy petal.
- Press the L key to select the Ellipse tool, and click and drag to make a tall, skinny oval.
- Use the Direct Selection tool to select just the side anchor points, and drag them down a bit, so the petal is wider at the bottom and tapers in at the top.
- Then, press the M key to select the Rectangle tool, and draw a small rectangle at the bottom of the oval as the connector. The rectangle shouldn’t be too short, or it will be too skinny and hard to work with when it’s cut.
- The rectangle should also be little wider than the petal itself, to create the spacing between each petal. You’ll get the hang of how much space you want to leave as you design more flowers.
- When you’re done creating the petal and connector. Select the oval and rectangle, and drag them into the Brushes panel. Click Pattern Brush, then OK.
- In the Brush options window, we can see a preview of the brush. At this point, if you don’t like the spacing between the flowers, you can click Cancel, and go back and tweak the width of the rectangle and drag it back into the Brushes panel. When you’re happy with how the brush looks, click OK.
- Make a copy of the spiral path we created earlier, and place it on the artboard.
- With the spiral path selected, click the new petal brush to apply it to the spiral path.
- If your petals look too big, decrease the Stroke weight, OR double click on the brush in the brushes panel, which will open the Brush Options window. Make sure Preview is checked, and next to Scale, you can use the slider to adjust the size. Or type in a specific percentage. Once you have a size you’re happy with, click OK.
- Now because the brush is already applied to a path, illustrator will ask if you want to update the brush, or leave it the way it was. To use the new settings click “Apply to Strokes”.
- Once you’re happy with the design, expand it into vector shapes.
- First make a copy of the “live” version over to the side in case you wand to make changes to it later.
- Then select the spiral and the center circle, and choose Object > Expand Appearance
- While everything is still selected, click Pathfinder >Unite.
- Then right-click, and choose Simplify to clean up those extra nodes!
And that’s it! You can design as many different petal shapes as your mind can think of to create all kinds of rolled paper flowers!
When you’re ready to Save as SVG, choose File > Save as, give the file a name, and set the filetype to SVG. Make sure “Use Artboards” is checked and enter 1 so only the work on that artboard is included in your file. Then click Save, and OK.
Design your own 3D rolled paper flowers and come share your finished SVG designs (and any questions) in my free Facebook Group!
If you found this SVG design tutorial helpful, Pin the image below to come back later, and to help other SVG designers learn how to design 3D rolled paper flowers!