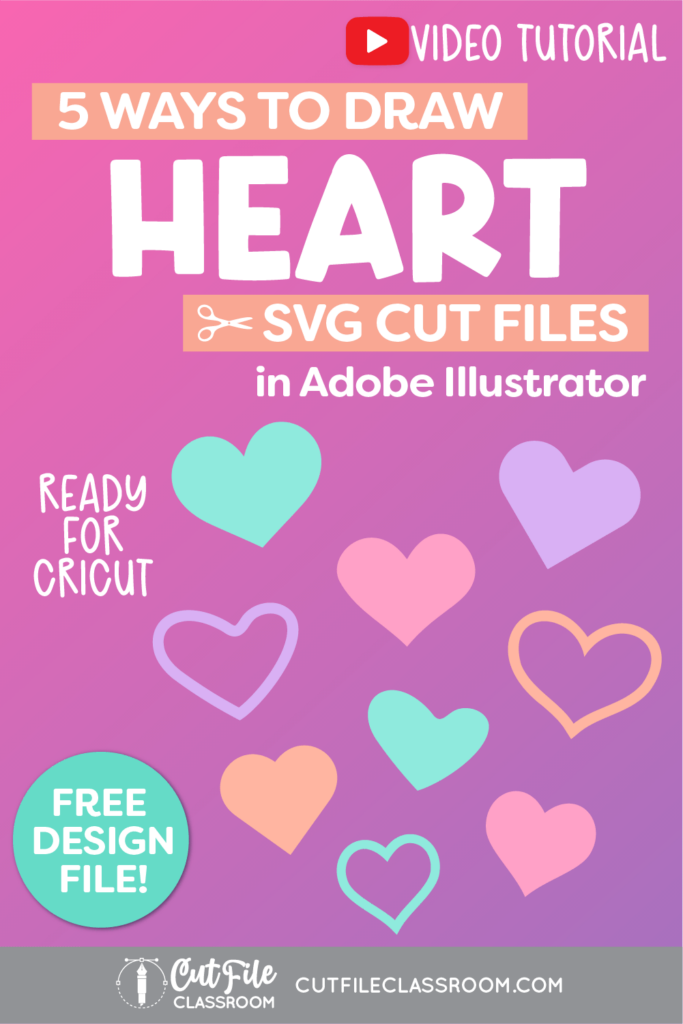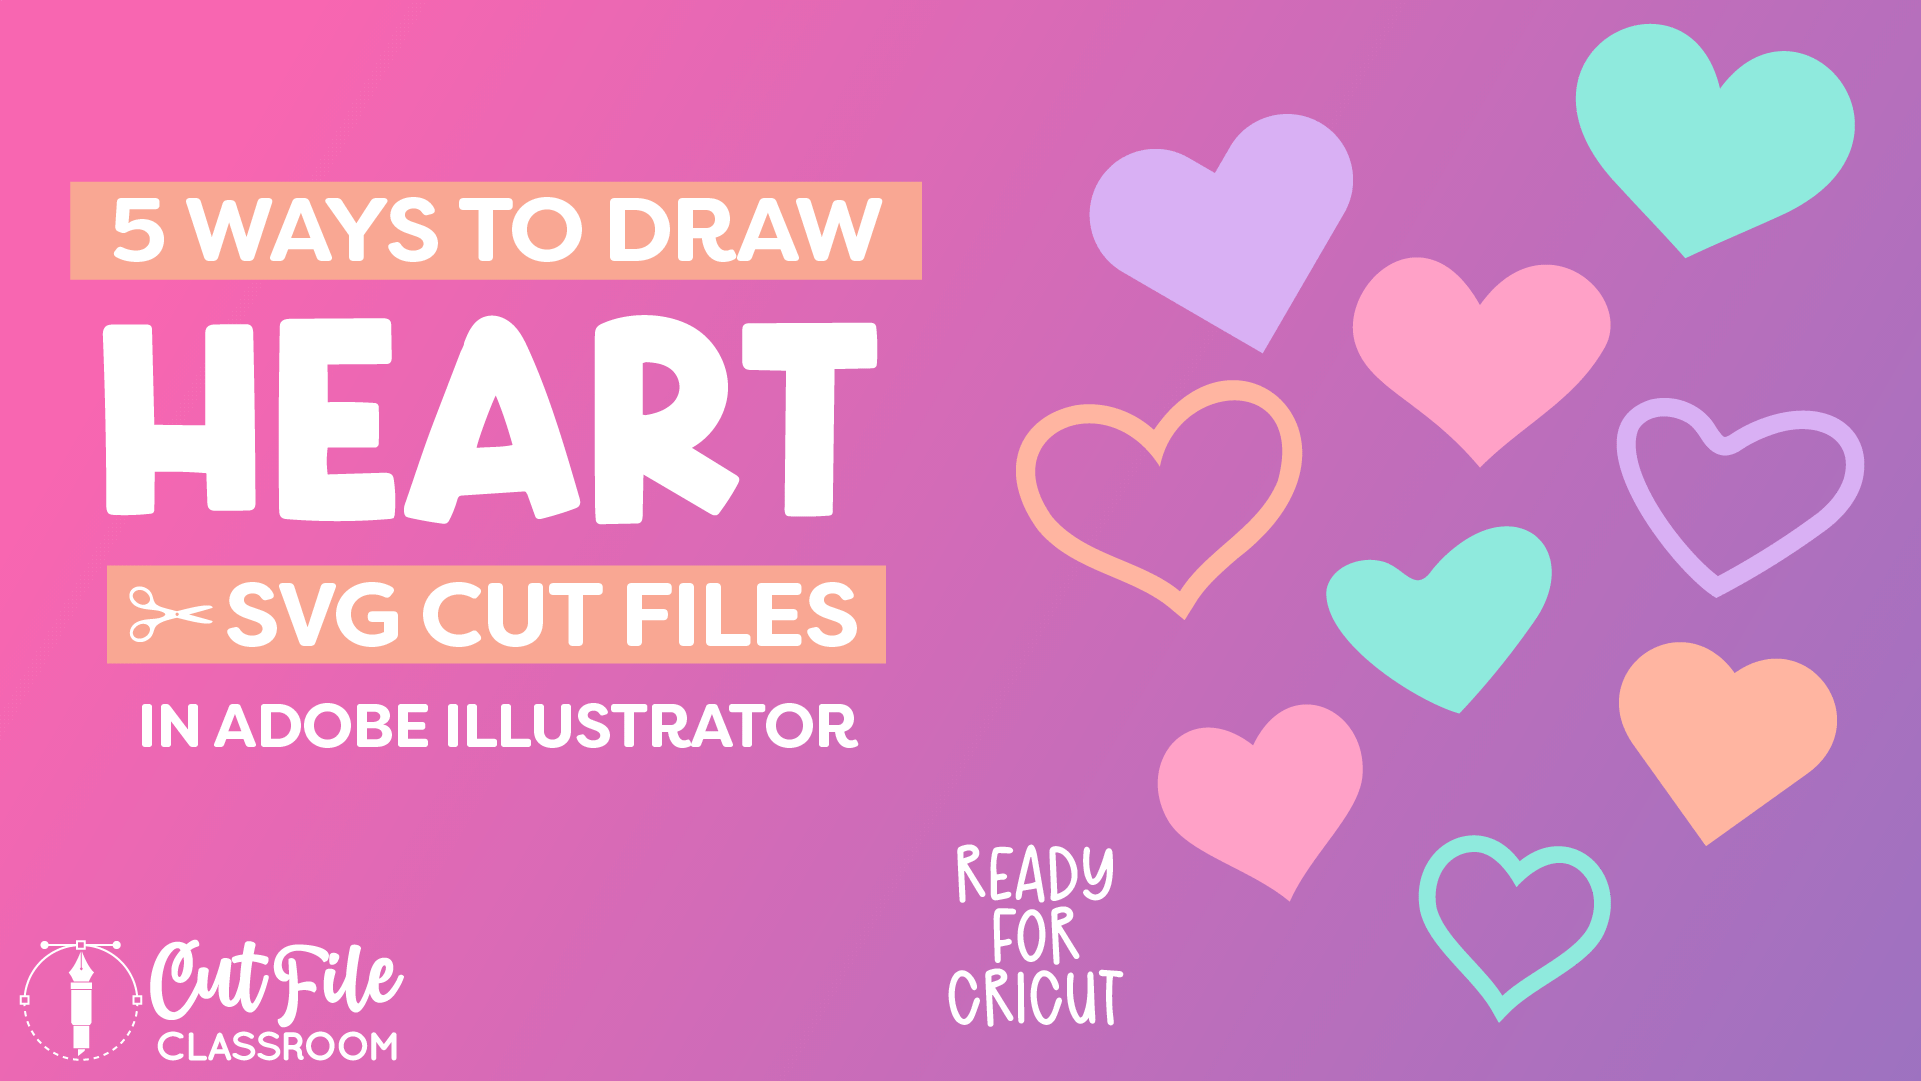
Since Valentine’s Day is right around the corner, I thought it would be fun to show a few different ways to draw a heart in Adobe Illustrator! 💕
As with many things in Illustrator, there’re usually several different ways of achieving the same end result – and that’s definitely true with hearts. In this video, we’ll learn 5 ways to draw a heart in Adobe Illustrator. Give these methods a try and pick the one that works best for you!
We’re going to make the first two hearts using existing shapes, which is pretty quick and easy to do (with some practice and a few keyboard shortcuts, they can be drawn in 10 seconds and 15 seconds respectively!). Then we’ll draw a heart in Adobe Illustrator with the Pen tool – an asymmetrical heart and a symmetrical one.
We’ll draw the next heart freehand with the Pencil tool – asymmetric and symmetric versions. And finally, we’ll create an outline heart that is ready for cutting machines like Cricut and Silhouette.
If you want to follow along, I’ve included a link below where you can download this Illustrator practice file, which includes the color palette I used, all of the finished hearts, and the different working stages for some of the hearts.
Video Tutorial
If you prefer written step by step instructions instead of video, continue reading.
Download & Follow Along
Free Illustrator Practice File – CFC05:
To follow along and learn how to draw a heart in Adobe Illustrator, download the free Adobe Illustrator practice file for this tutorial.
Includes the finished designs, color palette, and working stages shown in this video.
Grab it from my Free Design Library: File# CFC05.
Want access to this free file? Join my FREE Design Library! All you need is the password, which you can get by filling out the form below!
Free Design Library!
Subscribe to my free newsletter and get instant access to my FREE Design Library, which includes this file and all other design tutorial files!
Enter your email and check your inbox for the password!
Written Overview: How to Draw a Heart in Adobe Illustrator
For most of these hearts, it can be helpful to have Smart Guides turned on, head to View in the top menu, and make sure Smart Guides has a check mark next to it.
Choose a fill color in the Toolbar by double-clicking the “Fill” icon and choosing the color you’d like to use and click OK.
Draw a Heart with a Square Shape
- Start by drawing a square. Press the M key on my keyboard to select the Rectangle tool. Then hold SHIFT on the keyboard as you click and drag to draw a perfect square.
- Next, hover your mouse over one of the corners of the square, and when when the cursor turns into a corner arrow, hold SHIFT as you click and drag rotate the shape 45 degrees, then release the mouse.
- Press SHIFT C to select the Anchor Point tool, and hold SHIFT again as you click on one of the top sides and drag it upward and outward, which forms a nice, rounded curve.
- Do the same for the other side – hold SHIFT as you click and drag out the other side to make it curved.
- And there we have our first heart!
Draw a Heart with a Rectangle Shape:
- Press M on your keyboard to select the Rectangle tool. Then draw a vertical rectangle.
- With the rectangle still selected, click on one the Live Corner widgets, and drag it inward until the corners have rounded as far as they will go to create a pill shape.
- Hover over your mouse over one of the corners and hold SHIFT as you click and drag to the side to rotate the shape at a 45 degree angle.
- Next, we’re going create a mirrored copy. Press the R key to select the Rotate tool. Start dragging to the left to rotate the shape. While dragging, hold SHIFT to rotate 45 degrees, and also hold ALT which will make a copy that is rotated 45 degrees, forming an “X”.
- When you select both shapes, we can see that the intersecting shapes do form a heart, we just need to “carve” it out. Press SHIFT M to select the Shape Builder tool, and click and drag your cursor over the upper parts to combine them into a heart shape.
- To remove the extra shapes beneath the heart, hold ALT which will allow the Shape Builder to subtract. click on the extra shapes under the heart to remove them.
- And now the second heart is finished!
Draw a Heart in Adobe Illustrator with the Pen Tool – Asymmetrical:
- Press P on the keyboard to select the Pen tool, then click and drag up and to the right to create the first handle, then click over to the side and drag down and to the left to form the first curve of the heart.
- Then, use the Smart Guides to make sure the center points of the heart are aligned. Click and drag down and to the left to place the bottom anchor point.
- Press ALT and drag up and to the left to make the bottom corner of the hear.
- To form the left side of the heart, click and drag up and slightly to the left to place the side anchor point
- To finish the heart, hover the Pen tool over the top center anchor point. When a circle appears near your cursor, it means the shape will be closed. Press ALT as you click the top center anchor point and drag up and to the left to form the second curve, finished the heart.
Draw a Heart with the Pen Tool – Symmetrical:
- This time, we’ll only draw half of the heart. Press P on the keyboard to select the Pen tool, then click and drag up and to the right to create the first handle, then click over to the side and drag down and to the left to form the first curve of the heart.
- Then, use the Smart Guides to make sure the center points of the heart are aligned. Click and drag down and to the left to place the bottom anchor point.
- Once half of the heart is drawn, use the Direct Selection tool to adjust any points or paths as desired.
- Once you’re happy with the way the heart looks, we can create a mirrored copy so that both sides are the same.
- To do this, press the O key to select the Reflect tool. A red crosshair is automatically placed in the middle of the shape. But we want to mirror from the center of the heart so we need to reset the crosshair. With the Reflect tool still selected, click on the top anchor point of the heart to place the red crosshair at the center of the heart. Then hold SHIFT and ALT and click on the bottom center anchor point to create a perfectly mirrored copy of the first half.
- Now we have 2 sides of he heart, but they are still 2 separate shapes. We need to join the center anchor points to make it a single shape. Select the whole shape and choose Unite in the Pathfinder panel to form a single complete heart.
Draw a Heart with the Pencil Tool – Asymmetrical:
- We’ll draw the next heart with the Pencil tool. Press N on the keyboard to pull up the Pencil tool.
- Use the pencil to click and drag and draw a heart shape freehand, the same way you would draw with a real pencil on paper. You may need to give your shape a fill color or stroke color.
- If you don’t like the way part of your heart looks, you can redraw that section using the Pencil tool, just make sure to start and end on a path, otherwise it will draw a new line instead.
- You can also press the ALT key while you have the Pencil tool selected, to select the Smooth tool, which you can use to click and drag over any bumpy paths to smooth them out.
- Now your asymmetrical freehand pencil heart is complete.
Draw a Heart with the Pencil Tool – Symmetrical:
- We’ll draw the next heart with the Pencil tool. Press N on the keyboard to pull up the Pencil tool.
- This time, we’ll only draw half of the heart. Press N on the keyboard to select the Pencil tool, then click and drag to draw half of the heart the same way you would draw with real pencil on paper. You may need to give your shape a fill color or stroke color.
- If you don’t like the way the half of your heart looks, you can redraw that section using the Pencil tool, just make sure to start and end on a path, otherwise it will draw a new line instead.
- You can also press the ALT key while you have the Pencil tool selected, to select the Smooth tool, which you can use to click and drag over any bumpy paths to smooth them out, or use the Direct Selection tool to make any desired adjustments to the half heart.
- Once you’re happy with the way the heart looks, we can create a mirrored copy so that both sides are the same.
- To do this, press the O key to select the Reflect tool. A red crosshair is automatically placed in the middle of the shape. But we want to mirror from the center of the heart so we need to reset the crosshair. With the Reflect tool still selected, click on the top anchor point of the heart to place the red crosshair at the center of the heart. Then hold SHIFT and ALT and click on the bottom center anchor point to create a perfectly mirrored copy of the first half.
- Now we have 2 sides of he heart, but they are still 2 separate shapes. We need to join the center anchor points to make it a single shape.
- If any of your center paths are crossed, you can use the Direct Selection tool to select them, then press J on your keyboard to choose the Join tool and click and drag across the crossed paths to align and connect them.
- If no paths are crossed, you can select the whole shape and choose Unite in the Pathfinder panel to form a single complete heart to connect all open paths.
Draw an Outline Heart:
- The last heart we’ll draw is an outline heart. We can create this type of heart using any of the other hearts we just drew.
- Copy the heart you’d like to use and paste it in an empty part of the artboard.
- Right now, the heart has a fill color, but no stroke color. Press SHIFT+X on your keyboard to swap the fill and stroke.
- Increase the stroke weight to be your desired thickness. Now we have an outline heart, but the heart is still just a single path. Cutting machines would cut this heart the same as the rest of the hearts we just drew.
- To make it cut as an outline on cutting machines we need to convert the path to a vector object. In the top menu, choose OBJECT > Path > Outline Path.
- Now the path is “expanded” to form a vector shape, completing the outline heart.
Finally, select all hearts, right-click and choose Simplify.
Now these heart designs are all ready to Save as SVG files!
Give this a try and come share your finished SVG designs (and any questions) in my free Facebook Group!
If you found this SVG design tutorial helpful, Pin the image below to come back later, and to help other SVG designers learn how to draw a heart in Adobe Illustrator!