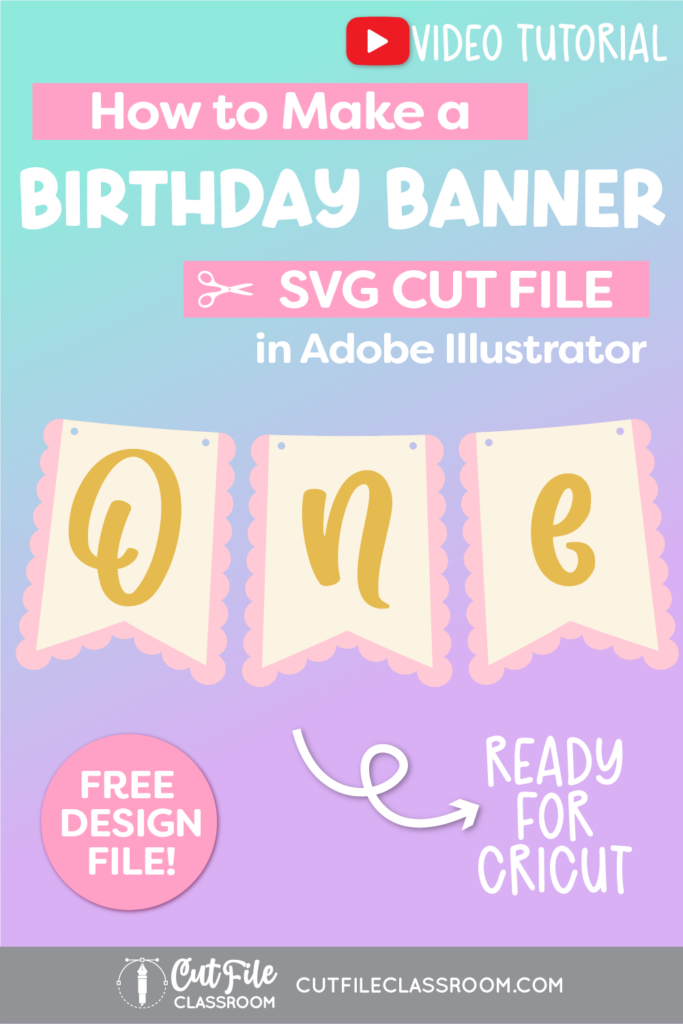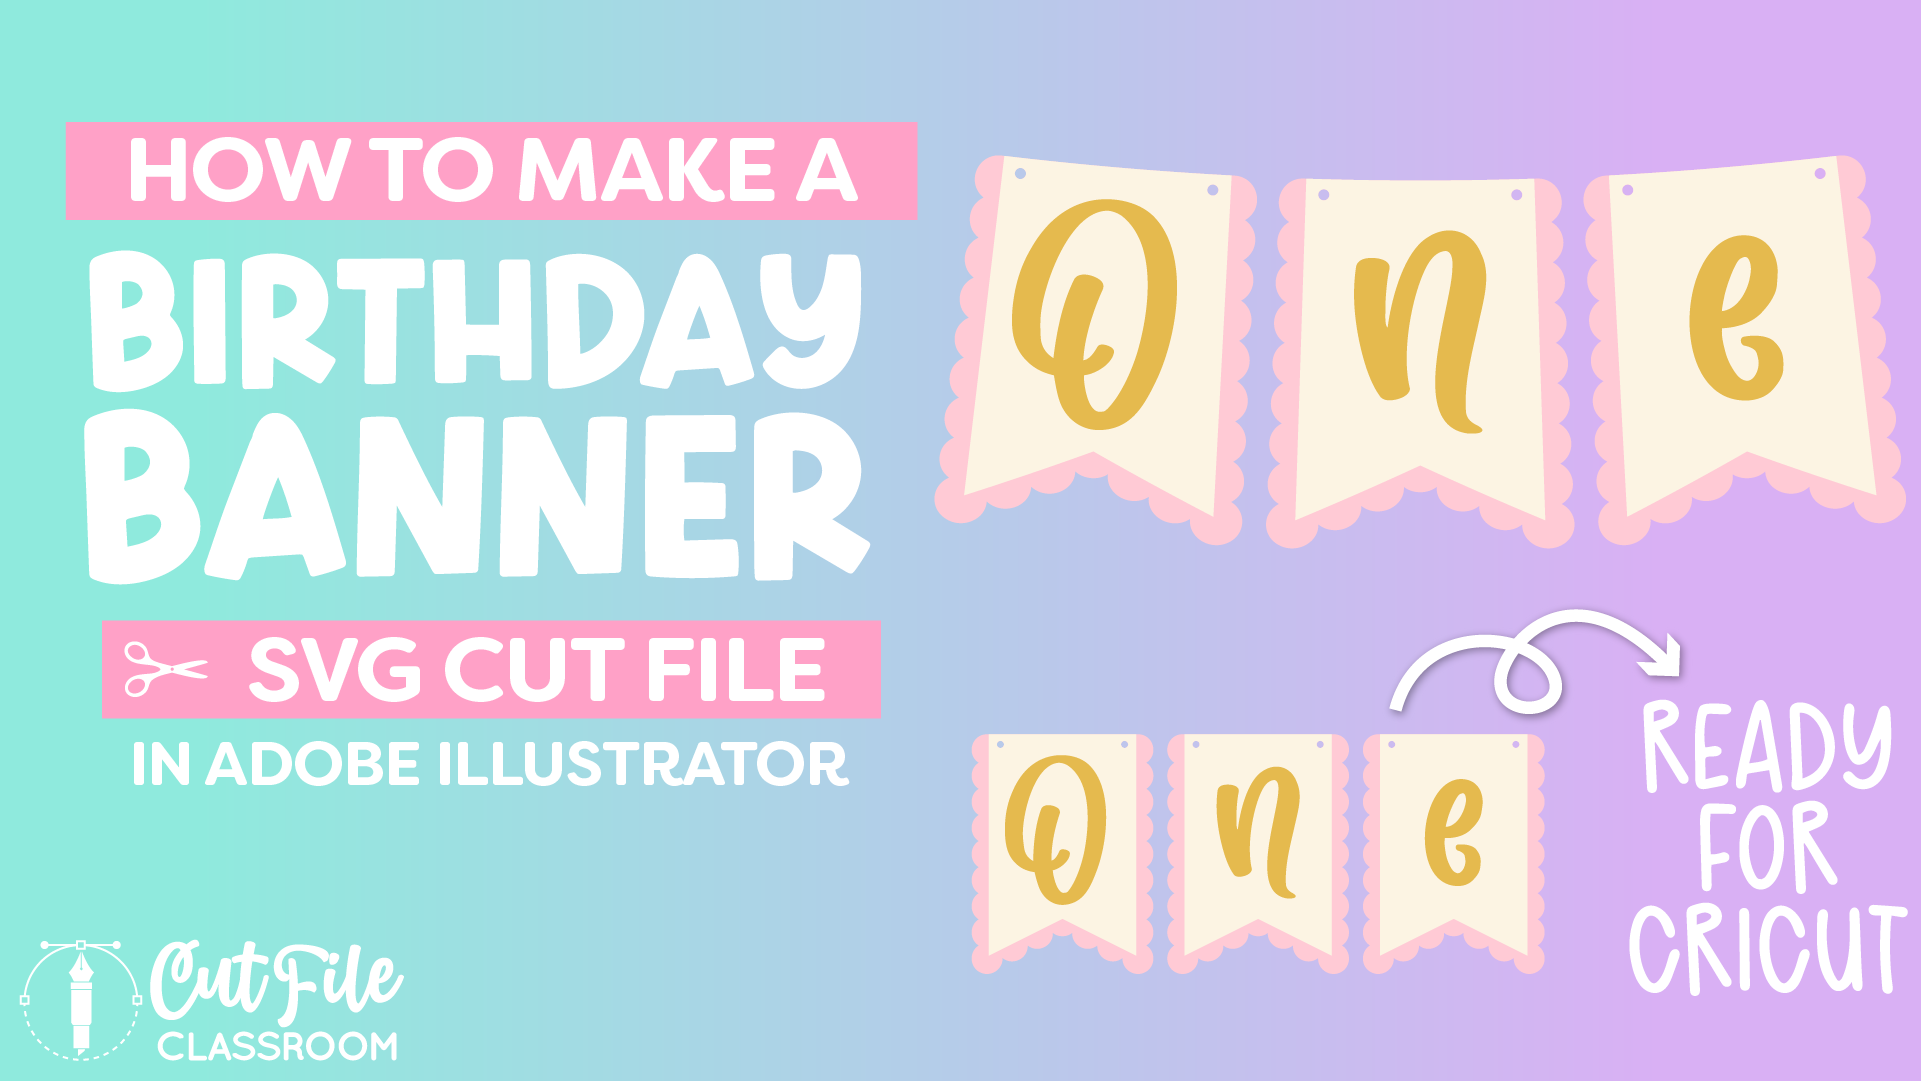
Whether you’re celebrating a birthday, graduation, or holiday, banners are a fun DIY project for party crafters. In this video, learn how to make a birthday banner SVG file for Cricut in Adobe Illustrator.
Follow along to design a banner cut file from start to finish. We’ll start from scratch and work step by step all the way through saving the SVG and uploading it to Cricut Design Space.
If you want to follow along, I’ve included a link below where you can download this Illustrator practice file, which includes the color palette I used, the finished birthday banner SVG, and the different working steps for creating this design.
Video Tutorial
If you prefer written step by step instructions for how to make a birthday banner SVG file instead of video, continue reading.
Download & Follow Along
Free Illustrator Practice File – CFC08:
To follow along and learn how to make a birthday banner SVG file in Adobe Illustrator, download the free Adobe Illustrator practice file for this tutorial.
Includes the finished designs, color palette, and working stages shown in this video.
Grab it from my Free Design Library: File# CFC08.
Want access to this free file? Join my FREE Design Library! All you need is the password, which you can get by filling out the form below!
Free Design Library!
Subscribe to my free newsletter and get instant access to my FREE Design Library, which includes this file and all other design tutorial files!
Enter your email and check your inbox for the password!
Font Used:
Written Overview: How to Make a Birthday Banner SVG File in Adobe Illustrator
Draw Flag Shape:
- Start by drawing a flag shape. Press M key to select the Rectangle tool. Then click once on the artboard and in the Rectangle settings box, enter dimensions 4″w x 6″h. Click OK.
- Illustrator will create a rectangle to your dimensions.
- Give the shape a color (I used a cream color in this example).
- Make sure Smart Guides are turned on (View> Smart Guides).
- Using the Pen tool, hover pen over bottom path of rectangle. When smart guides indicate the center of the path, click to add a new anchor point.
- To create a dove tail shape, move the new anchor point up 1 inch. With the new anchor point selected, in the Transform panel, type “-1” after the existing number in the Y axis field and press Enter. Illustrator will automatically move the anchor point up 1 inch.
Create Scallop Edges:
- Create a small offset around the flag shape. Choose Object> Path > Offset Path and type 0.05in and click OK.
- A small offset path has been created around the original flag shape.
- With the offset path selected, give it a different fill color (I used a light pink). Then increase the stroke weight to 60pt.
- With the stroke still selected, in the Stroke panel, set the caps to rounded, and check the “Dashed Line” option. Set the first Dash field to 0pt. Then set the Gap field to a value that is about 5-10pts less than the stroke weight. In this example I used a Gap of 50pt.
- Now the offset path has scallop edges, all around however I want the top of the scallop shape to be flat and aligned with the top of the flag shape.
- Using the Direct Selection tool, click the top path of the scallop offset and press Delete on your keyboard.
- Using the Direct Selection tool, select the top 2 anchor points of the scallop shape and hold SHIFT as your drag them downward to align the top edges with the top edge of the flag shape.
- Now you can expand the scallop edges into vector shapes. Head to Object > Path > Outline Path.
- The scallop path has now become circular vector shapes. With the shapes still selected, click Unite in the Pathfinder panel to connect / weld these circle shapes together.
- Select the inner path of the top circles and delete them. Then use the Direct Selection tool to select the top anchor points, then right click and choose “Join” to connect them together. This makes the scallop shape a closed shape.
- Using the Group Selection tool, click to select the inner scallop path and delete it. Now we have a solid scallop pennant shape for our birthday banner.
Create Ribbon Hole Cutouts:
- Press the L key on your keyboard to bring up the Ellipse tool. Click once on the artboard and in the Ellipse window, enter dimensions of .2in x .2in and click OK.
- Illustrator will create a small circle. Give it a fill color that is different than the flag and scallop shapes.
- Then place the circle at the upper right corner of the flag shape, leaving enough room near the edges so the paper won’t be too thin and tear.
- Select the circle, then press ALT as you click and drag to the left to create a hole for the other side of the flag. Hold SHIFT while dragging to make sure your circles stay aligned.
- Select both circles, right click and Group them together.
- With the circles selected, press CTRL or CMMD C to make a copy on your clipboard (we’ll need these later).
- Now with the circles selected, hold SHIFT and click on the flag shape to add it to your selection. Then in the Pathfinder panel, click Minus Front to remove the circles from the flag shape, leaving cutouts.
- Press CTRL or CMMD F (Paste in front) to paste the copied circles in the exact placement.
- With the pasted circles selected, hold SHIFT and this time click on the scallop shape to add it to your selection. Then in the Pathfinder panel, click Minus Front to remove the circles from the scallop shape, leaving cutouts that are perfectly aligned with the ones in the flag shape.
Add Letters to Flags:
- To add letters to your flags, select the flag shape and press ALT and SHIFT as you drag to make several copies (I made 2 copies for a total of 3 pennants).
- Press T on your keyboard to select the Type tool. Click on the artboard and type the word you want for your banner. I used “One” for this high chair banner. Choose the font you want for your design, I used the Martina font.
- Now we need to convert the text to vector shapes, but first, make a copy of the live text off to the side of the workspace so we can make changes later if we need to.
- With the text selected, choose Type > Create Outlines to convert to vector shapes.
- Use the Group Selection tool to place each letter on top of their respective flag shape. (This is just for visual reference, since the letters will be cut as separate shapes from cardstock and manually assembled.)
Now this birthday banner SVG design is ready to cut in Cricut Design Space and other cutting programs. Download my Free Designer’s Guide to Error-Free SVGs to see my recommended settings for Saving SVG files.
Give this a try and come share your finished SVG designs (and any questions) in my free Facebook Group!
If you found this SVG design tutorial helpful, Pin the image below to come back later, and to help other SVG designers learn how to make a birthday banner SVG file for Cricut in Adobe Illustrator!