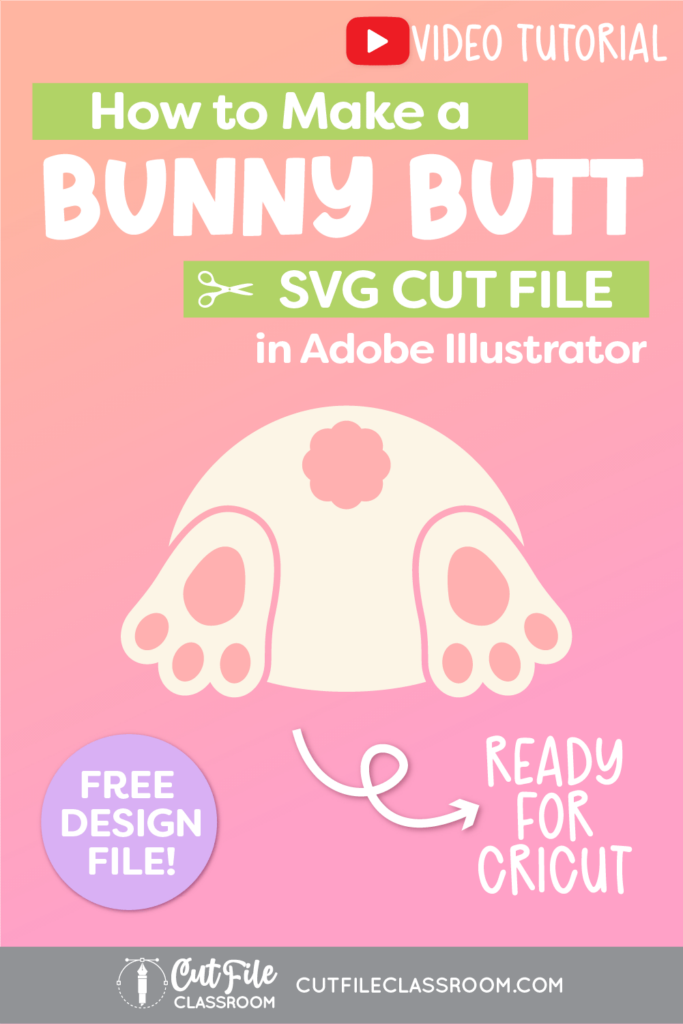
Easter is almost here, and so you’ve probably seen these cute lil bunny bums everywhere! From digging in the grass, carrot patch, Easter basket, or even a shirt pocket, there’s so many fun things you can do with this easy to make SVG!
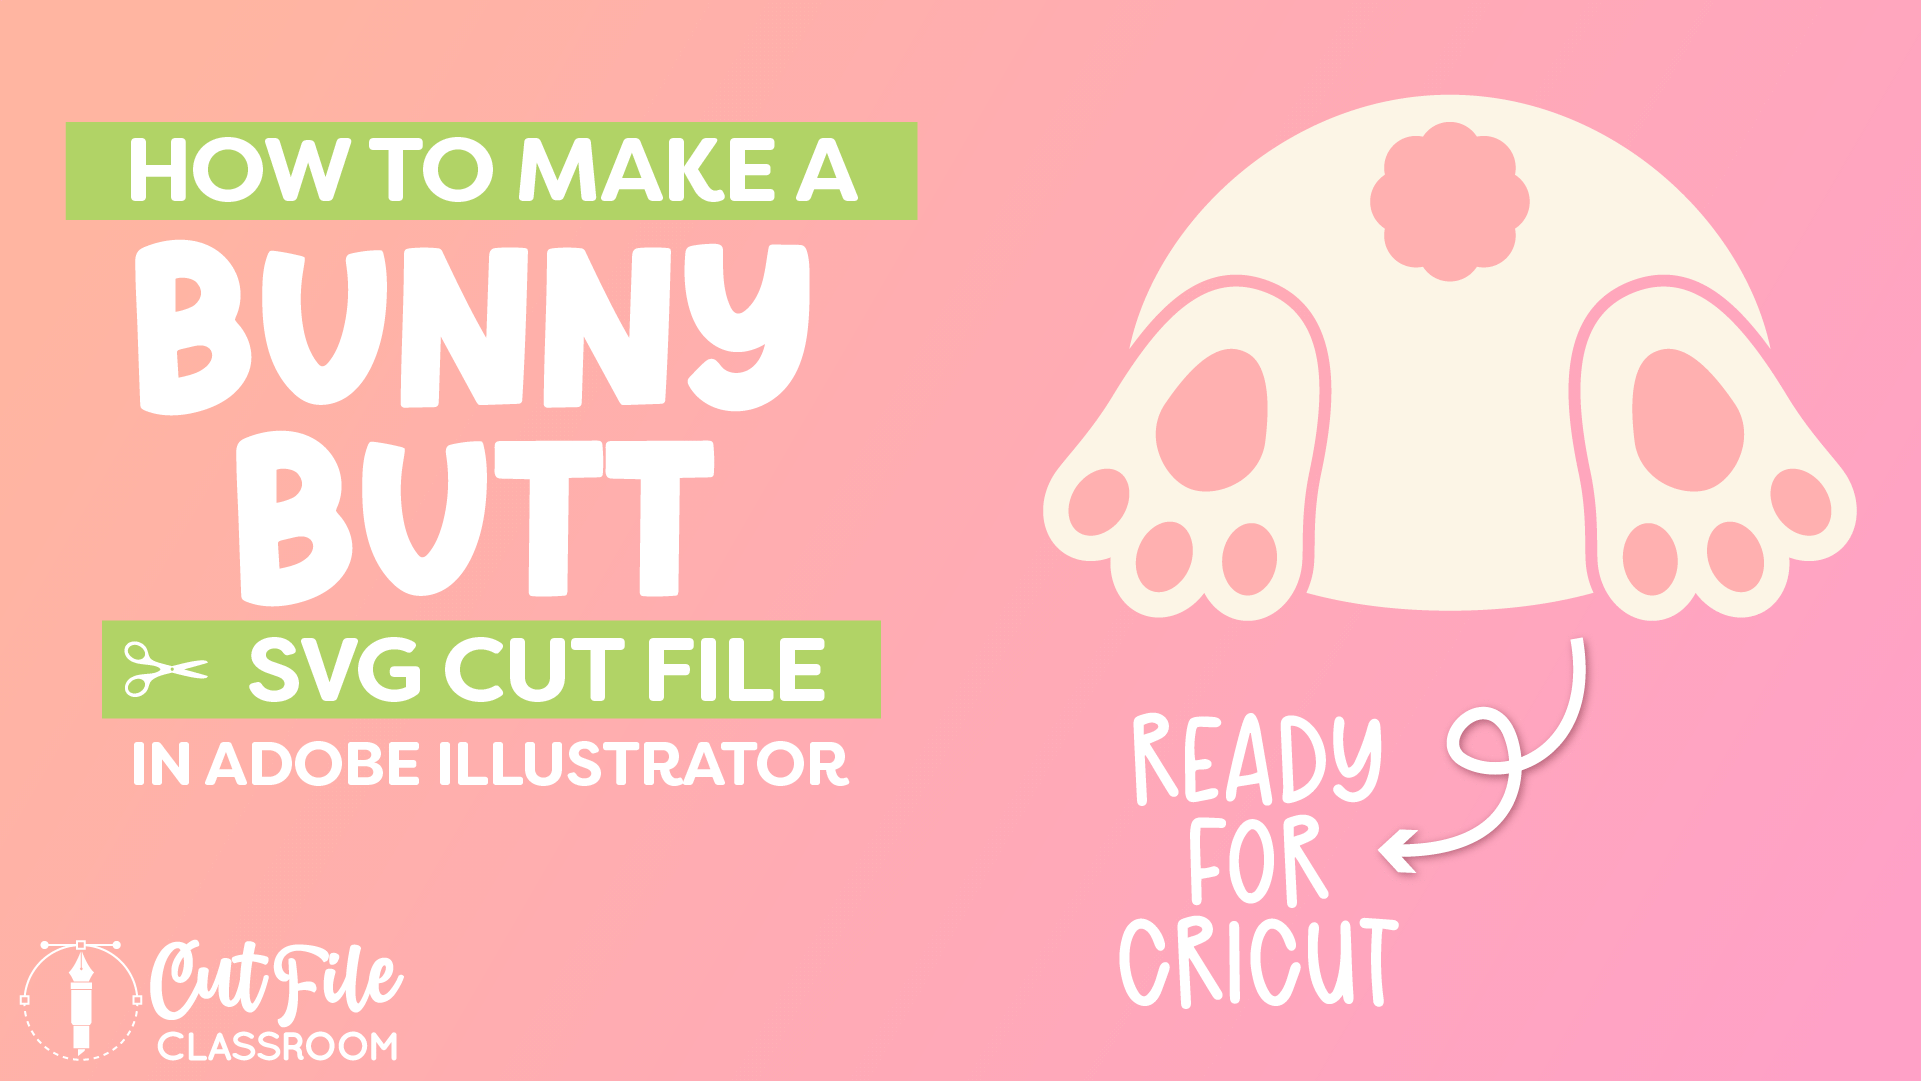
In this video, learn how to make a bunny butt SVG file in Adobe Illustrator from scratch using just circles and ovals. If you can draw a circle – you can make this design!
If you want to follow along, I’ve included a link below where you can download this Illustrator practice file, which includes the color palette I used, the finished bunny butt SVG, and the different working steps for creating this design.
Video Tutorial
If you prefer written step by step instructions instead of video, continue reading.
Download & Follow Along
Free Illustrator Practice File – CFC07:
To follow along and learn how to make a bunny butt SVG file in Adobe Illustrator, download the free Adobe Illustrator practice file for this tutorial.
Includes the finished designs, color palette, and working stages shown in this video.
Grab it from my Free Design Library: File# CFC07.
Want access to this free file? Join my FREE Design Library! All you need is the password, which you can get by filling out the form below!
Free Design Library!
Subscribe to my free newsletter and get instant access to my FREE Design Library, which includes this file and all other design tutorial files!
Enter your email and check your inbox for the password!
Written Overview: How to Make a Bunny Butt SVG File in Adobe Illustrator
Draw Bunny Body:
- Start by drawing the bunny’s body. Press the L key to select the Ellipse tool. Then click and drag on your artboard to draw an oval for the bunny’s body.
- Give the body a color (I used a cream color in this example).
- Using the Direct Selection tool, select the 2 side anchor points and drag them downward, holding SHIFT as you drag to change the shape of the oval making the bottom slightly flattened.
Draw a Bunny Paw / Foot:
- Press the L key to select the Ellipse tool. Then click and drag on your artboard to draw a smaller oval next to the body for the bunny’s foot.
- Using the Direct Selection tool, click to select one of the side anchor points, then click and drag the bottom handle inward so it aligns with the side of the oval.
- Repeat the step above with the anchor point on the other side of the oval, turning it into more of a paw shape.
- Press L and draw a smaller oval at the top of the foot shape to create a toe. Make sure it is centered over the foot shape.
- Make a copy of the center toe and place it to the side of the original.
- With the copied toe selected, press the O key to select the Reflect tool. Click on the center of the foot to reset the Reflection crosshair. Then hold ALT and SHIFT as you click on another part along the center axis of the foot. (Using a guide as your center axis may be helpful).
- To create the “pads” on the bottom of the foot, select all of the foot shapes and choose Object > Path > Offset Path in the top menu.
- In the Offset settings window adjust the settings to create an inner offset – here I used -0.25 inches. Click OK to create inner offsets for the foot pads.
- Give the offset shapes a pinkish color. The main foot pad may be too large, so you may need to make it smaller.
- Now select all cream colored parts of the foot and click Unite in the Pathfinder panel to combine them into a single vector shape.
- Notice small “indents” where the toe shapes meet the foot shape. Use the Pen tool and click on the anchor points at the indent to remove them, creating a smoother transition.
- Use the Direct selection tool to adjust the handles and anchor points of the path as desired to get the paw foot shape looking the way you want it.
- When the foot is done, select and rotate it to be upside down at an angle and place it over the bunny body.
- Use the Reflect tool to create a copy of the paw on the other side of the bunny body.
Draw the Bunny Tail:
- Press the L key to select the Ellipse tool. Then click and drag while holding SHIFT to create a smaller circle over the bunny body.
- Use the Smart Guides to make sure the circle is placed at the upper center of the bunny body.
- With the small circle selected, choose Object > Repeat > Radial from the top menu.
- The circle will be repeated to form a circle – this will be our bunny tail. Slide the arrow toggle on the side of the radial to adjust the number of copies in the repeat.
- When you are happy with the way the tail looks, choose Object > Expand from the top menu. In the Expand window, keep Fill and Stroke checked, and click OK to expand the repeat into actual vector shapes.
- With the expanded radial still selected, choose Unite in the Pathfinder panel to combine the copies into a single vector shape.
- Use the Direct Selection tool to select the inner “hole” of the tail shape and delete it, leaving just the solid vector tail shape.
- If this design will be cut from vinyl, the feet are blending in with the bunny body. To distinguish the feet shapes from the rest of the body, we’ll create an offset knockout.
- With both feet selected, choose Object > Path> Offset Path. In the Offset window, set the offset amount and click OK. In this case, I used 0.08in.
- With the created offsets still selected, hold SHIFT as you click on the bunny body to add it to your selection. Now click “Minus Front” in the Pathfinder panel to subtract the offsets from the bunny body, making the feet visible against it.
Make SVG design ready to cut:
- To clean up the anchor points for cutting machines, select the full design, right-click and choose Simplify.
- In the window that appears, you can adjust the settings depending on your design and click OK.
- Next, we need to combine same-colors into compound paths so they appear correctly on the mat in Cricut Design Space. Select all the cream color shapes and press CMMD / CTRL 8 on your keyboard to make them a compound path.
- Now select all of the pink areas of the design and press CMMD / CTRL 8 on your keyboard to make them a compound path.
Now this bunny bum design is all ready to save as SVG Files. Download my Free Designer’s Guide to Error-Free SVGs to see my recommended settings for Saving SVG files.
Give this a try and come share your finished SVG designs (and any questions) in my free Facebook Group!
If you found this SVG design tutorial helpful, Pin the image below to come back later, and to help other SVG designers learn how to make a bunny butt SVG file in Adobe Illustrator!