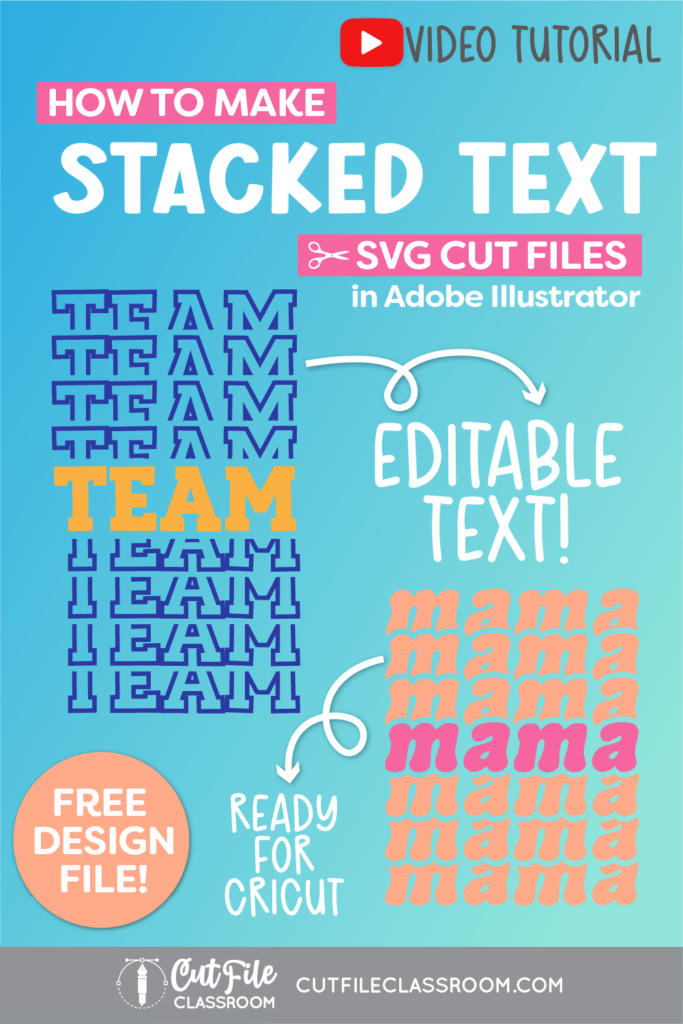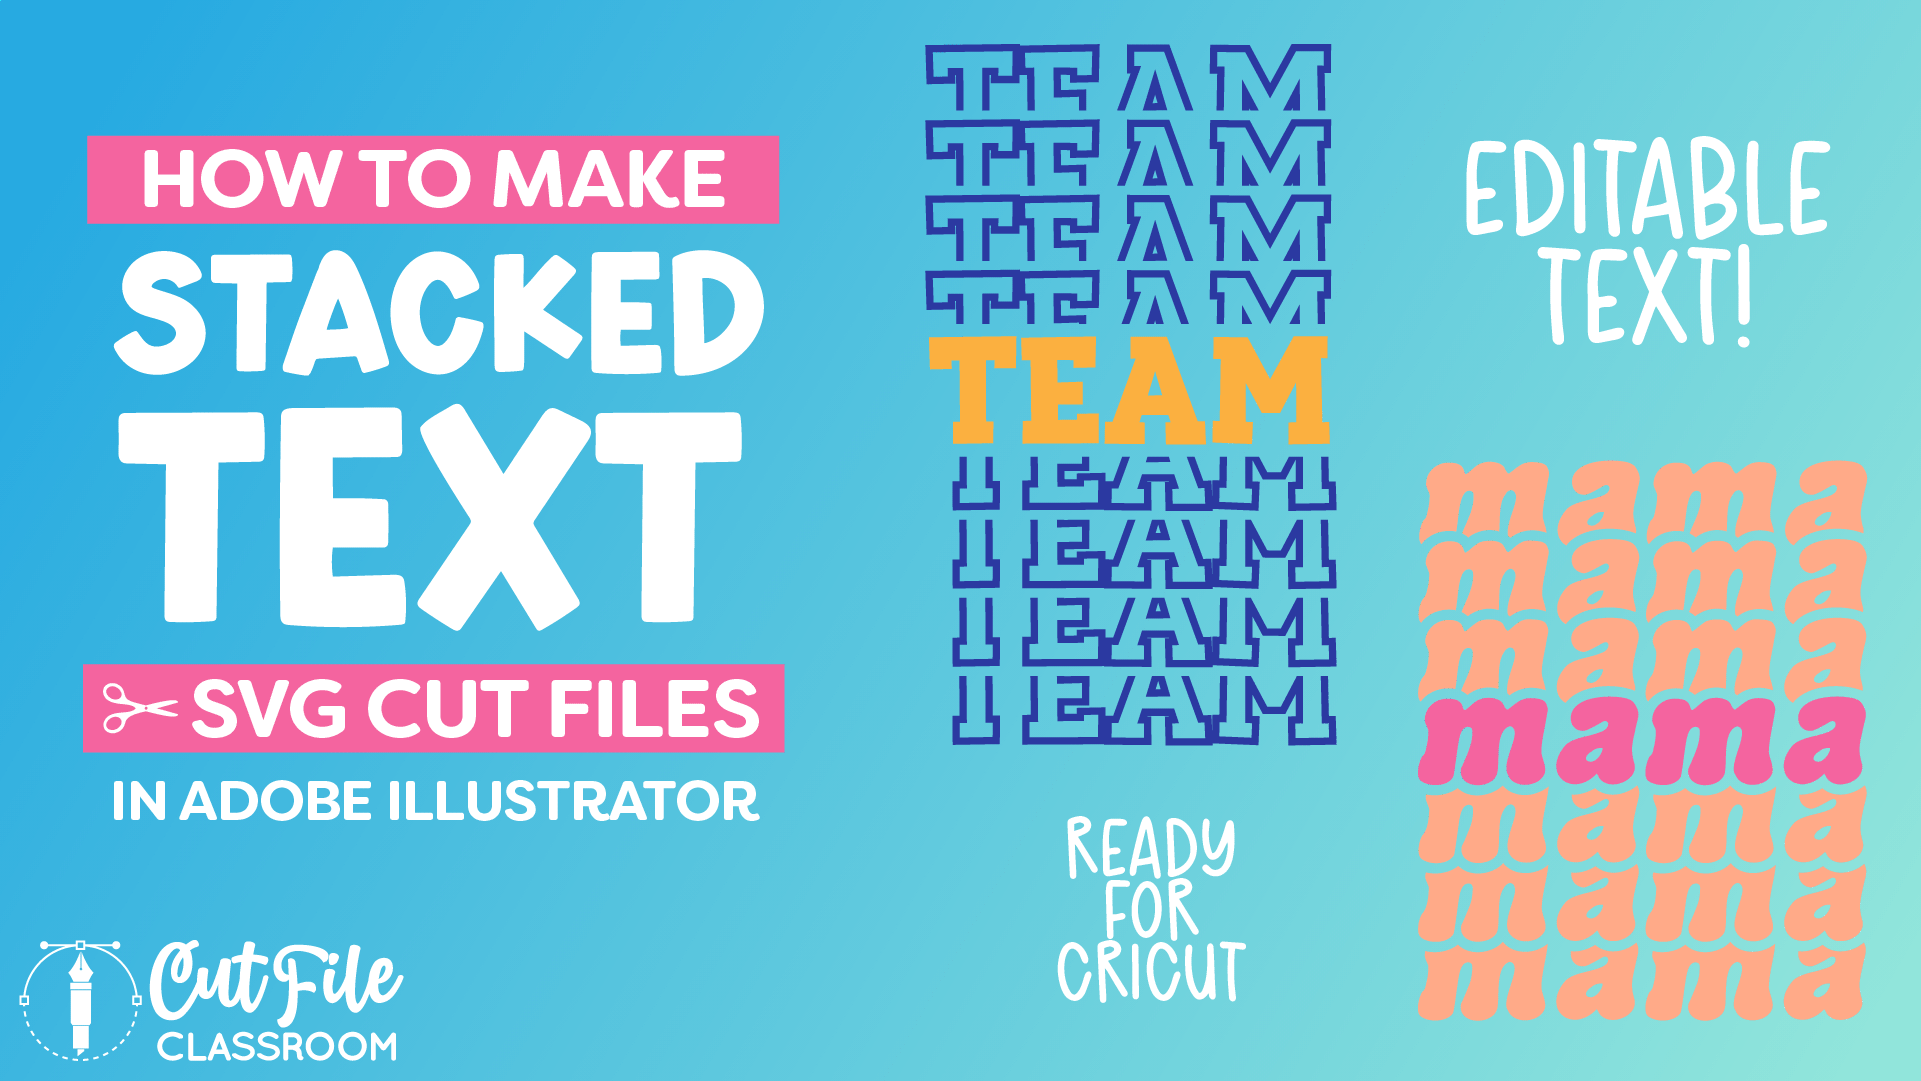
We’ve seen stacked text become popular for digital designs, first with varsity style letters, and then continuing with retro designs. The stacked text effect is where several copies, or “echos” of a word are placed above and below a central word, creating the look of being stacked on top of each other.
In this video, we’ll learn how to make stacked text SVG cut files in Illustrator from start to finish, so that they’re ready for Cricut and other cutting machines.
We’ll create 3 different versions of stacked text using the blend tool (to stack the text) and the Pathfinder tool (to trim everything in 1 click!) The great thing about this method is that once you make a stacked text design in Illustrator, you can come back and edit the text to create tons of other stacked text designs quickly and easily!
If you want to follow along, I’ve included a link below where you can download this Illustrator practice file, which includes the color palette I used, all of the finished stacked text SVG designs, and the live blend effects and appearances used to build each variation.
Video Tutorial
If you prefer written step by step instructions instead of video, continue reading.
Download & Follow Along
Free Illustrator Practice File – CFC06:
To follow along and learn how to make stacked text SVG cut files in Illustrator, download the free Adobe Illustrator practice file for this tutorial.
Includes the finished designs, color palette, and working stages shown in this video.
Grab it from my Free Design Library: File# CFC06.
Want access to this free file? Join my FREE Design Library! All you need is the password, which you can get by filling out the form below!
Free Design Library!
Subscribe to my free newsletter and get instant access to my FREE Design Library, which includes this file and all other design tutorial files!
Enter your email and check your inbox for the password!
Fonts Used:
- Sportsball Font by Missy Meyer (Commercial use)
- Advert Font by Rick Mueller – (free personal use only)
Written Overview: How to Make Stacked Text SVG Cut Files
Create Stacked Text (Solid Text / Straight cuts where text overlaps):
- Use the Type tool to type out the word you want for your design
- Select the Rectangle tool and choose a different fill color from your text (here I used light grey). Draw a rectangle behind your text. (Press SHIFT D to draw the rectangle behind the text)
- Use the Align panel to align your text so it is Horizontally Center Aligned to the rectangle. (Be sure “align to glyphs” is checked.
- Select text and rectangle and group together (CMMD G / CTRL G)
- Select text / rectangle group and hold ALT and SHIFT as you click and drag upward to create a copy that is directly above the original. Press CMMD+SHIFT+[ to send the upper copy to the back.
- Choose the Blend tool from the Toolbar, then click on the original (lower) text group, then click on the 2nd (upper) text group. A few copies will appear between the upper and lower text groups.
- Double click Blend tool to adjust Blend options. Choose Specified Steps and set Steps to 3.
- Use the blend spine to adjust the blend spacing as needed to make sure none of the stacked letters are “cut off” in places that would be too thin or difficult to work with when cut using cutting machine.
- Once your spacing is as desired, select the full blend and create a copy by dragging it downward while holding SHIFT and ALT keys.
- Place copied blend so the top of the copy aligns with the bottom (original) text group from the first blend. (Spacing should be even between top, center, and bottom text groups).
- With bottom blend still selected, from top menu choose OBJECT > Blend > Reverse Front and Back to bring the top text group of the bottom blend to the front.
- Select full stacked text design and press CMMD G / CTRL G to group the entire design.
Now we can convert this stacked text to vector shapes that we can use as cut files. First, make a copy of the live blends over to the side of your workspace – we can come back to this to create additional design variations!
- Double click the group to isolate it – this will prevent any changes from happening to the other designs on your workspace.
- Expand the Text: Select the design and choose Type > Create Outlines from the top menu to convert the text to vector shapes.
- Expand the Blend: With the design still selected, choose Object > Blend > Expand from the top menu.
- With the design still selected, click “Trim” in the Pathfinder panel to trim away overlapping areas of the design that are unneeded.
- Double click the Magic Wand tool in the Toolbar and make sure “Fill Color” is checked and Tolerance is set to 1. Then use the Magic Wand tool to click on one of the grey rectangles in the design.
- All of the areas with the same grey fill color will be selected – press DELETE to remove them from the design.
- Optional: Now you can select the center text and make it a different color to stand out.
- Then press CMMD 8 / CTRL 8 to make it a Compound Path.
- Use the magic wand to select the rest of the stacked text, and press CMMD 8 / CTRL 8 to make it a Compound Path.
- Right-click and use Simplify to clean up extra anchor points as needed.
Now your 1st stacked text design is complete!
Create Stacked Text (Outlined Text / Straight cuts where text overlaps):
- We’ll re-use the blend we already created to make a new stacked text that has outlined text. Make a copy of the live blend design.
- Select the bottom blend and move it downward to create space for the solid text that will be in the center of the outlined text.
- Use the Group Selection tool to select 1 text and rectangle group. Copy and Paste it in front and place it at the center between both blends. Give it a different fill color to stand out from the rest of the stacked text.
- Using the Direct Selection tool, select each instance of text in the top blend and bottom blend. (Do not select the center text).
- Press SHIFT X to swap the fill and stroke, leaving the stacked text with a stroke color but no fill color.
- Select the full design and group it together (CMMD G / CTRL G).
Now we can convert this stacked text to vector shapes. First, make a copy of the live blends over to the side of your workspace – we can come back to this to create additional design variations!
- Double click the group to isolate it – this will prevent any changes from happening to the other designs on your workspace.
- Expand the Text: Select the design and choose Type > Create Outlines from the top menu to convert the text to vector shapes.
- Expand the text outlines: Object > Path > Create Outlines.
- Expand the Blend: With the design still selected, choose Object > Blend > Expand from the top menu.
- With the design still selected, click “Trim” in the Pathfinder panel to trim away overlapping areas of the design that are unneeded.
- Double click the Magic Wand tool in the Toolbar and make sure “Fill Color” is checked and Tolerance is set to 1. Then use the Magic Wand tool to click on one of the grey rectangles in the design.
- All of the areas with the same grey fill color will be selected – press DELETE to remove them from the design.
- Select center text and press CMMD 8 / CTRL 8 to make it a Compound Path.
- If any areas of the stacked outline text overlaps, use the magic wand to select it and choose “Unite” in Pathfinder panel to combine into a single shape.
- Then Press CMMD 8 / CTRL 8 to make it a Compound Path.
- Right-click and use Simplify to clean up extra anchor points as needed.
Now your 2nd stacked text design is complete!
Create Stacked Text (Contoured cutouts where text overlaps):
- Use the Type tool to type out the word you want for your design
- In Appearance panel, along the bottom, click “Add New Fill”. A new fill color box will appear. Use the arrow dropdown to choose a fill color.
- Then click “Add New Fill” again. A second fill color box will appear below the first one. Use the arrow dropdown to choose a different fill color for the offset (I used light grey).
- Now click the FX icon to Add a New Effect, and choose “Path > Offset Path”. In the Offset options window, set joins to Rounded, and adjust offset distance as desired. (I used 0.1in). Click OK to apply the offset.
- Select text and hold ALT and SHIFT as you click and drag upward to create a copy that is directly above the original. Press CMMD+SHIFT+[ to send the upper copy to the back.
- Choose the Blend tool from the Toolbar, then click on the original (lower) text group, then click on the 2nd (upper) text group. A few copies will appear between the upper and lower text groups.
- Double click Blend tool to adjust Blend options. Choose Specified Steps and set Steps to 3.
- Use the blend spine to adjust the blend spacing as needed to make sure none of the stacked letters are “cut off” in places that would be too thin or difficult to work with when cut using cutting machine.
- Once your spacing is as desired, select the full blend and create a copy by dragging it downward while holding SHIFT and ALT keys.
- Place copied blend so the top of the copy aligns with the bottom (original) text group from the first blend. (Spacing should be even between top, center, and bottom text groups).
- With bottom blend still selected, from top menu choose OBJECT > Blend > Reverse Front and Back to bring the top text group of the bottom blend to the front.
- Select full stacked text design and press CMMD G / CTRL G to group the entire design.
Now we can convert this stacked text to vector shapes that we can use as cut files. First, make a copy of the live blends over to the side of your workspace – we can come back to this to create additional design variations!
- Double click the group to isolate it – this will prevent any changes from happening to the other designs on your workspace.
- Expand the Text: Select the design and choose Type > Create Outlines from the top menu to convert the text to vector shapes.
- Expand the Offset: With the design still selected, choose Object > Expand Appearance from the top menu to convert the offset to vector shapes.
- With the design still selected, click “Trim” in the Pathfinder panel to trim away overlapping areas of the design that are unneeded.
- Double click the Magic Wand tool in the Toolbar and make sure “Fill Color” is checked and Tolerance is set to 1. Then use the Magic Wand tool to click on one of the grey offsets in the design.
- All of the areas with the same grey fill color will be selected – press DELETE to remove them from the design.
- Optional: Now you can select the center text and make it a different color to stand out.
- Then press CMMD 8 / CTRL 8 to make it a Compound Path.
- Use the magic wand to select the rest of the stacked text, and press CMMD 8 / CTRL 8 to make it a Compound Path.
- Right-click and use Simplify to clean up extra anchor points as needed.
Now your 3rd stacked text design is complete!
These stacked text designs are all ready to Save as SVG files!
***You can also use the live blends that we made to easily create additional design variations by changing the text (for example: from mama to mum, grandma, sister, aunt, etc.) Use Edit > Find and Replace to quickly edit text (make sure your group is isolated before editing text to prevent changing other designs).
Give this a try and come share your finished SVG designs (and any questions) in my free Facebook Group!
If you found this SVG design tutorial helpful, Pin the image below to come back later, and to help other SVG designers learn how to make stacked text SVG Cut Files in Illustrator!