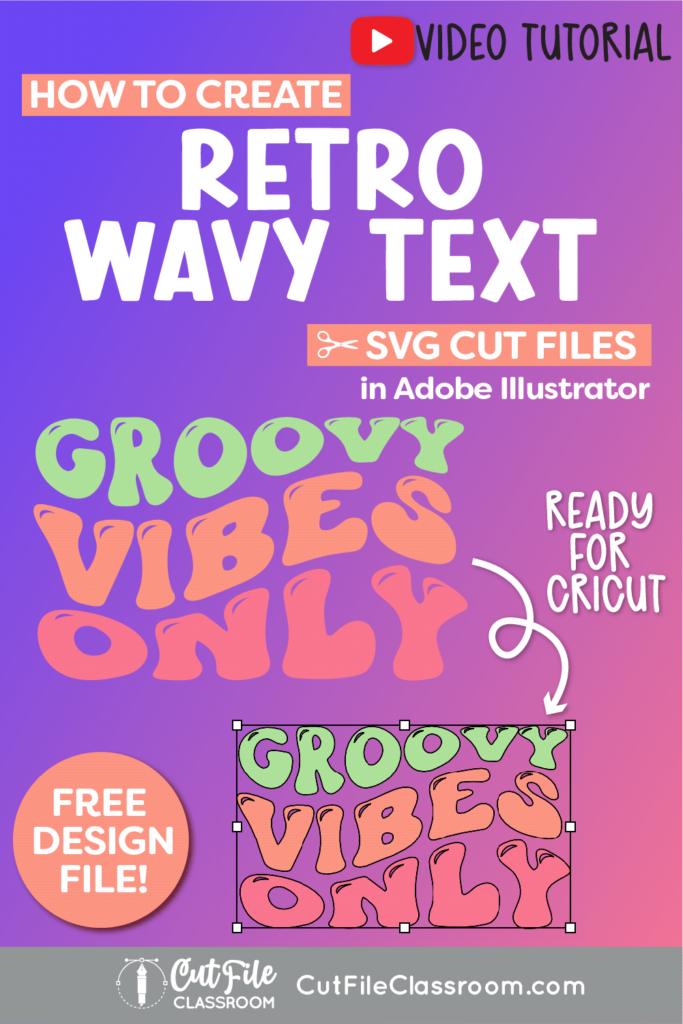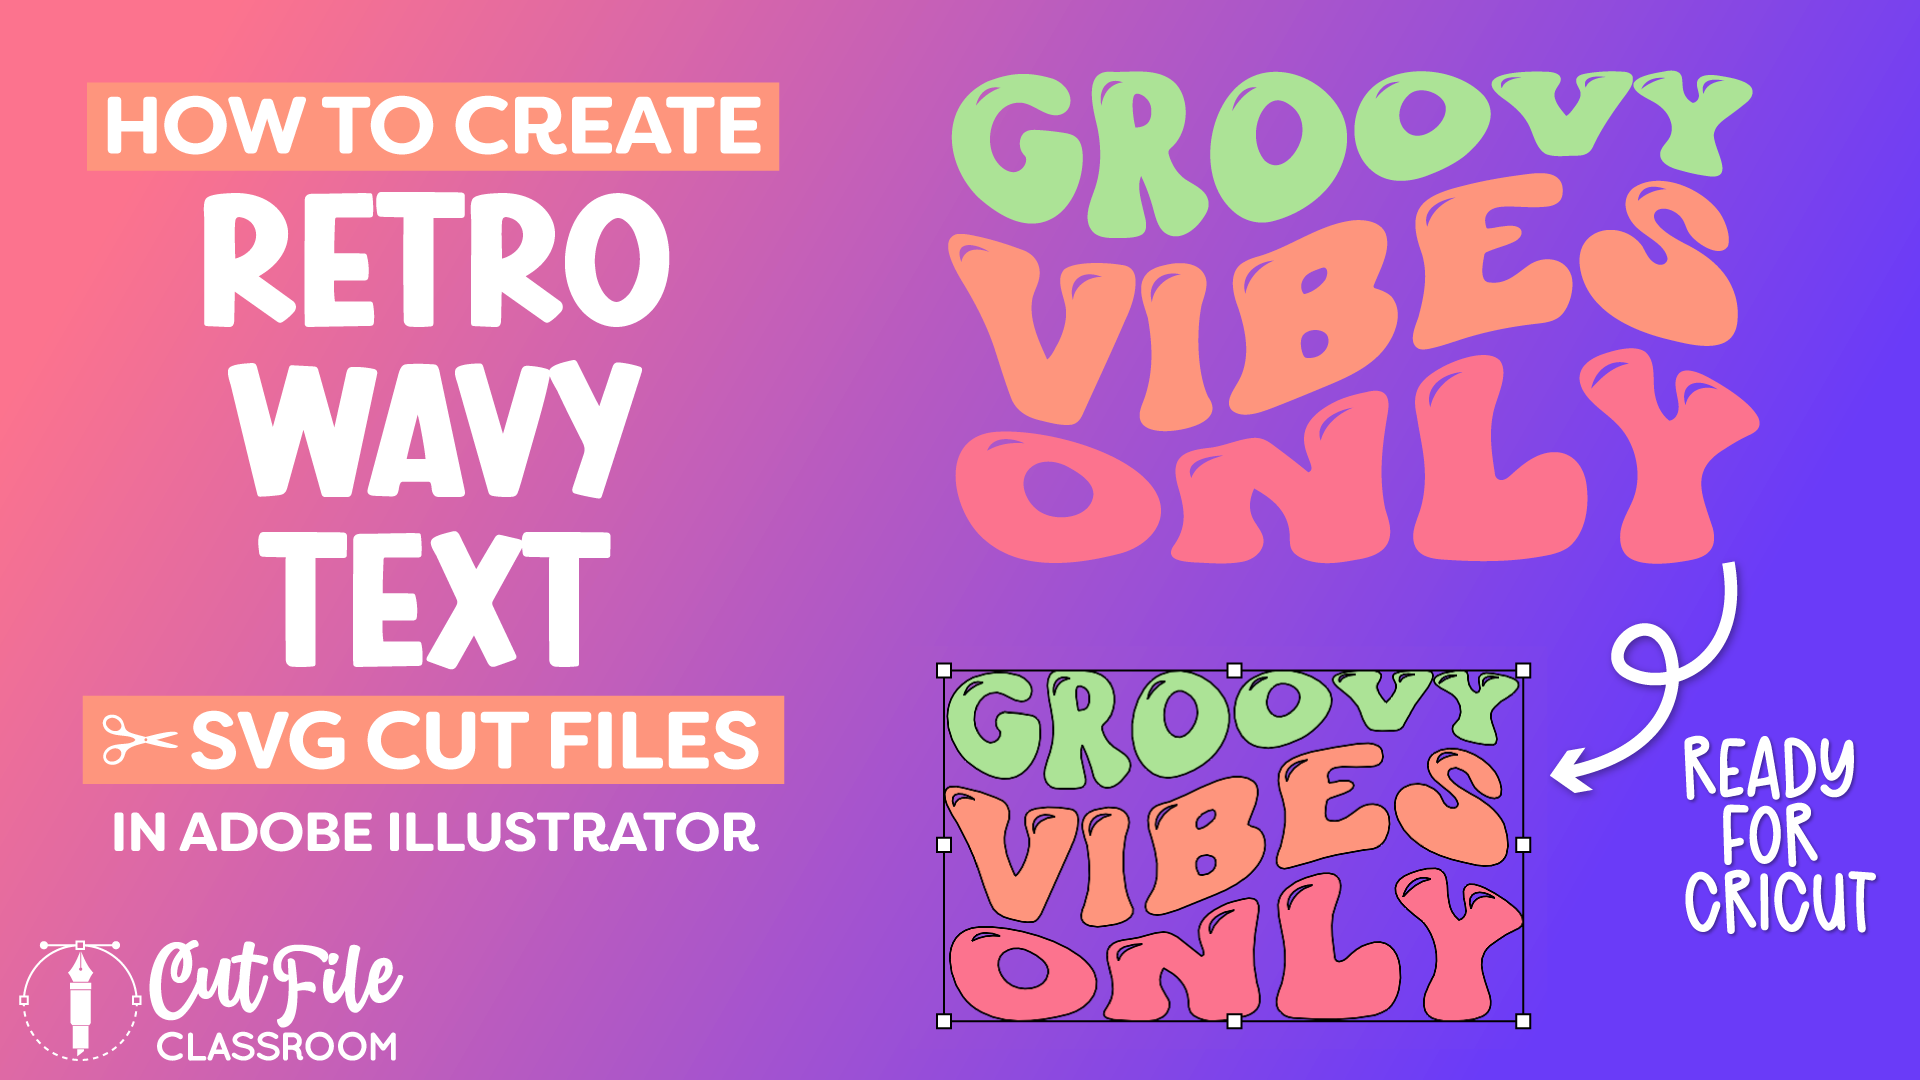
To say that retro wavy text has become super popular is an understatement. I’m sure you’ve seen this wavy text style in retro SVG files used for cutting machines like Cricut and Silhouette – and just about everywhere else!
In this video, I’ll show you how to create Retro Wavy Text SVG Files in just a few clicks so they are ready to cut in Cricut Design Space and other cutting machine software! The cool thing about this method is that you can set up your wavy text design once in Illustrator, and still be able come back and edit the text to create additional wavy text designs!
Video Tutorial: How to Make SVG Files – Wavy Retro Text
If you prefer written step by step instructions instead of video, continue reading.
Download & Follow Along
Free Illustrator Practice File – CFC02:
To follow along and learn how to create Retro Wavy Text SVG Files for Cricut, download the free Adobe Illustrator practice file for this tutorial.
Includes the finished design, color palette, and Wave text effect shown in this video.
Grab it from my Free Design Library: File# CFC02.
Want access to this free file? Join my FREE Design Library! All you need is the password, which you can get by filling out the form below!
Free Design Library!
Subscribe to my free newsletter and get instant access to my FREE Design Library, which includes this file and all other design tutorial files!
Enter your email and check your inbox for the password!
Fonts Used:
Written Overview: How to Create Retro Wavy Text SVG Files in Adobe Illustrator
To create retro wavy text SVG files in Adobe Illustrator:
- Press T on your keyboard to select the Type tool, and click on the artboard to begin typing the word you want for your design.
- With the Selection tool, hold SHIFT + ALT as you click and drag the text downward to create a copy below the first line. Then press CMMD+D (Mac) or CTRL+D (PC) to repeat that step which will make another copy, resulting in 3 lines of text with even spacing between them. You could keep making copies for however many lines of text you want in your design. We’ll use 3 for this example.
- Next I’ll select the all of the text and up in the Top Menu, and choose OBJECT> ENVELOPE DISTORT > MAKE WITH WARP.
- In the Warp Options window, set the Style to WAVE. This makes the text wavy in the middle, with a straight edge at the top and bottom. If you want the entire text to be wavy, choose FLAG.
- Use the Bend slider to adjust the steepness and placement of the wave toward the right or the left. Once you find settings you like, click OK to apply the wavy text effect to your text.
- If you double-click on the design, it will show straight lines which indicate each line of text.
- Using the Direct Selection Tool or the Group Selection tool, you can click on each line of text individually and change the colors.
- Now here’s the cool part ….You can press T on your keyboard to grab the Text tool and edit each line of text. ( In this example, we changed the text to say “Groovy Vibes Only”).
- If you have a design with a word that isn’t as wide as the rest, you could either leave it, and put a peace sign, flower or some other design in the empty space. Or you could use the Direct Selection tool to move the word for better placement.
- Another thing you can do is use the Selection tool and press ALT as you drag the sides of the bounding box to widen that line of text to match the rest… the warp will adjust accordingly as you make any changes.
- Now Since this is going to be an SVG cut file, once you have the design the way you want it, you need to expand it into vector shapes, (don’t forget to make a copy of the live warp effect over to the side of your workspace before expanding, so you can come back to it later to make changes or new designs without needing to recreate the warp from scratch!)
- Now you can expand this design into vector shapes. Select the design choose Object > Envelope Distort > Expand.
- Next, make each color a compound path so this design is easy to use in Cricut Design Space. Use the Magic Wand with the Tolerance set to 1 to select each color, then press CMMD +8 (Mac) or CTRL +8 (PC) on my keyboard to make it a compound path.
- Finally, select the design, then right-click and choose Simplify to clean up extra anchor points.
Now these Wavy Retro Text designs are all ready to Save as SVG files!
Give this a try and come share your finished SVG designs (and any questions) in my free Facebook Group!
If you found this SVG design tutorial helpful, Pin the image below to come back later, and to help other SVG designers learn how to create Retro Wavy Text SVG Files for Cricut!