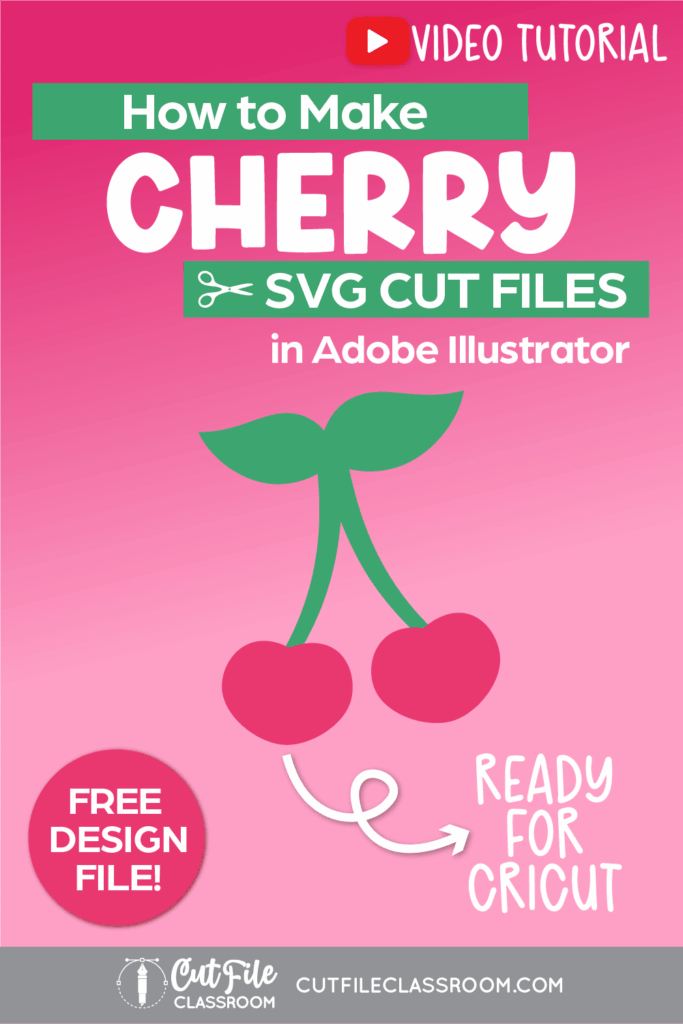
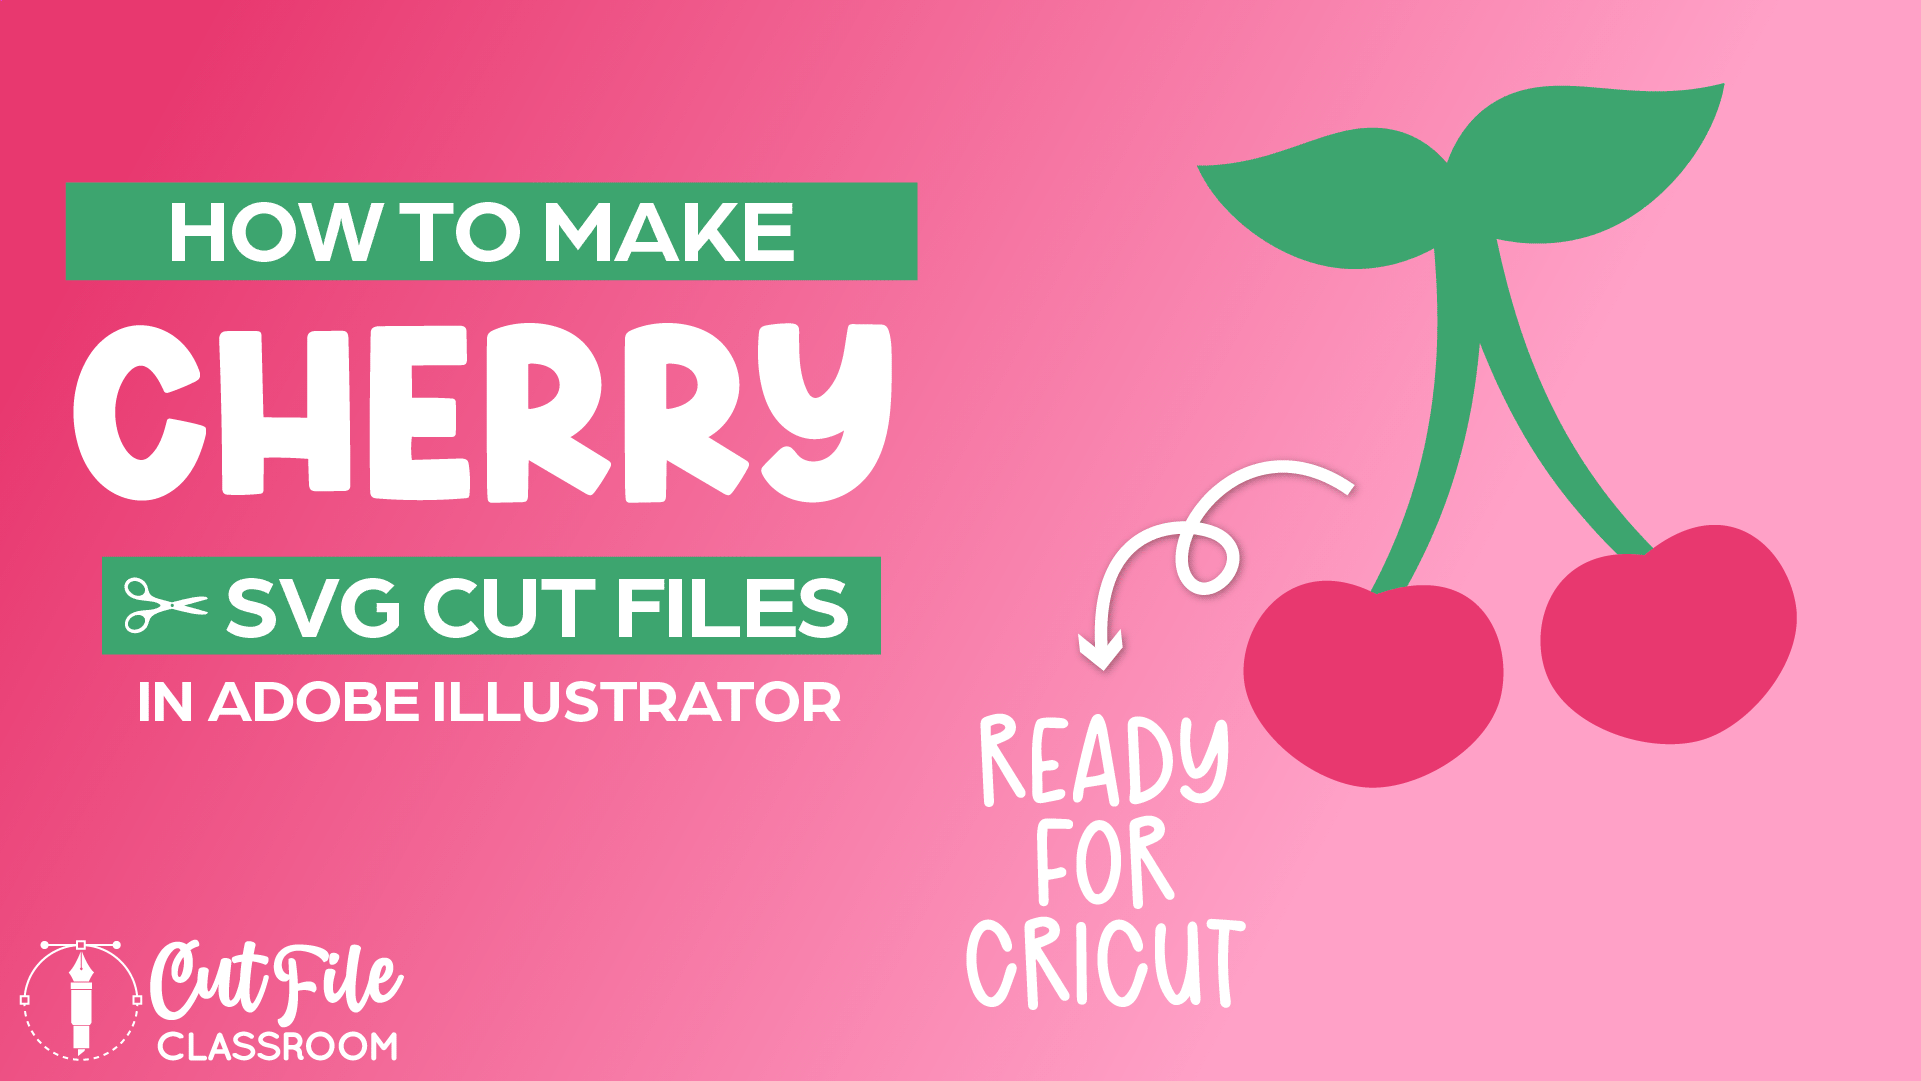
Learn how to make a cherry SVG file for Cricut using Adobe Illustrator! In this video tutorial, I’ll walk you step by step through how to create cherry SVG files in Adobe Illustrator that are clean, cut-ready, and easy to use with Cricut and other cutting machines.
Cherry SVG files are easy to make, and are perfect for Spring and Summer SVG designs.
This easy to follow tutorial is also packed with foundational design skills you can reuse on all of your SVG designs.
I’ll show you how to create cherries using simple shapes and paths, and then show how to make them into cut ready files for both vinyl and paper crafts in Cricut and other cutting machines.
If you’d like to follow along, I’ve included a link below to download the Illustrator practice file, which includes the finished cherry SVGs, along with their working versions, so you can see exactly how each one is created.
Video Tutorial: How to Make SVG Files for Cricut: Cherry SVGs in Illustrator/
If you prefer written step by step instructions for how to make a Cherry SVG File for Cricut in Illustrator instead of video, continue reading.
Download & Follow Along
Free Illustrator Practice File – CFC016:
To follow along and learn how to make a Cherry SVG File for Cricut in Illustrator, download the free Adobe Illustrator practice file for this tutorial.
Includes the finished designs and color palletes shown in this video.
Grab it from my Free Design Library: File # CFC016.
Want access to this free file? Join my FREE Design Library! All you need is the password, which you can get by filling out the form below!
Free Design Library!
Subscribe to my free newsletter and get instant access to my FREE Design Library, which includes this file and all other design tutorial files!
Enter your email and check your inbox for the password!
Written Overview: How to Make a Cherry SVG File for Cricut
Draw Cherries SVG:
- Press L to grab the Ellipse tool and draw an oval that is almost a circle, but slightly wider horizontally.
- Press SHIFT+C to grab the Convert Anchor Point Tool and click on the top center anchor point of the oval to convert from a smooth point to a corner point.
- Use Direct Selection tool and drag direction handles of top anchor point upward to create an angled “indent” at the top of the cherry (where the stem would be).
- To widen the cherry shape on both sides without changing the height, use the Selection tool to select the cherry shape, then hold ALT / OPT as you click and drag one of the side handles of the bounding box.
- Use Direct Selection tool to adjust side handles as desired to finish the cherry shape.
- Select the finished cherry shape, and hold ALT / OPT as you click and drag to the side to make a copy of the cherry.
- Use the bounding box to slightly angle each cherry so they are slightly turned in toward each other.
Draw Stem and Leaves:
- Press P to grab the Pen tool. Place your cursor in between the 2 cherries, and above them, where you want the top of the stem to begin.
- Click and drag downward to begin drawing the stem path. Then move cursor down to the middle of the left cherry and click and drag down and to the right to form the stem path.
- Give the stroke a wider thickness and a green stroke color (no fill).
- Use the Width tool to click and drag at the top endpoint of the stem to make it wider to add some variation to the stem path.
- Use the Reflect tool to make a copy of the stem. Press O to select the Reflect tool, then click at the top of the stem to set the point of reflection. Then hold ALT/OPT and SHIFT as you click again a bit below the point of reflection. A mirrored copy of your stem will be created.
- To draw a leaf shape, press the L key to bring up the Ellipse tool and draw a horizontal oval shape.
- Press SHIFT+C to grab the Convert Anchor Point tool and click the side endpoints to convert them into corner points.
- Use the Direct Selection tool to make any other tweaks to the leaf shape as desired.
- Now use the Reflect tool to make a mirrored copy of the leaf. Press O to select the Reflect tool, then click at the top of the stems to set the point of reflection. Then hold ALT/OPT and SHIFT as you click again a bit below the point of reflection. A mirrored copy of your leaf will be created.
- Use selection tools to tweak, rotate, scale the leaves and position them as desired over the cherry stems.
- Your cherries are now complete, but now we need to make them into cuttable SVG files.
- Make a copy of the original cherries off to the side of the canvas to make future edits if needed.
- Select both cherry stems and choose OBJECT > Path > Outline Path to convert stem paths into actual vector shapes.
- Select all overlapping green shapes (both stems and both leaves), and choose Pathfinder > Unite to combine them into a single shape that cutting machines can handle.
- From here, we can optimize the design in different ways depending on the material it will be cut from.
Make SVG for Vinyl Crafts:
- To make the cherry SVG easy to layer with vinyl, select the full cherry design and click Trim in the Pathfinder panel. This will trim out the overlapping areas of the design so they fit together like puzzle pieces.
- Select both cherry shapes and choose Object > Compound Path > Make to make sure they cut correctly in cutting machine programs like Cricut Design Space.
- Select full design and group it together.
- Now your cherry SVG for vinyl is complete and ready to save as an SVG!
Make SVG for Paper Crafts:
- To make the cherry SVG easy to layer with paper / cardstock, we need to create a “base” that makes it easier to assemble from paper.
- Select both cherry shapes and press CMMD / CTRL C to make a copy, then CMMD / CTRL F to paste in Front. With the copied cherries still selected, press SHIFT and click on the stem / leaf shape to add them to your selection, and click Unite in the Pathfinder panel. This forms the base shape.
- If your base shape changed color, you may need to change it back to green.
- Right click the base shape and choose Arrange > Send to Back to place it behind the original cherry shapes.
- Select full design and group it together.
- Now your cherry SVG for paper is complete and ready to save as an SVG!
Now you know how to make a bow SVG file that’s ready to cut in Cricut Design Space and other cutting programs. Download my Free Designer’s Guide to Error-Free SVGs to see my recommended settings for Saving SVG files.
Give this a try and come share your finished cherries (and any questions) in my free Facebook Group!
Want to learn how to design and sell any kind of SVG cut files from scratch in Illustrator? My upcoming SVG design course will cover everything you need to know! Join the Cut File Academy Waitlist to stay tuned!
If you have any requests for future SVG tutorials, drop a comment below – I’d love to hear ’em!
If you found this SVG design tutorial helpful, Pin the image below to come back later, and to help other SVG designers learn how to make a Cherry SVG file for Cricut in Illustrator and other cutting machines!