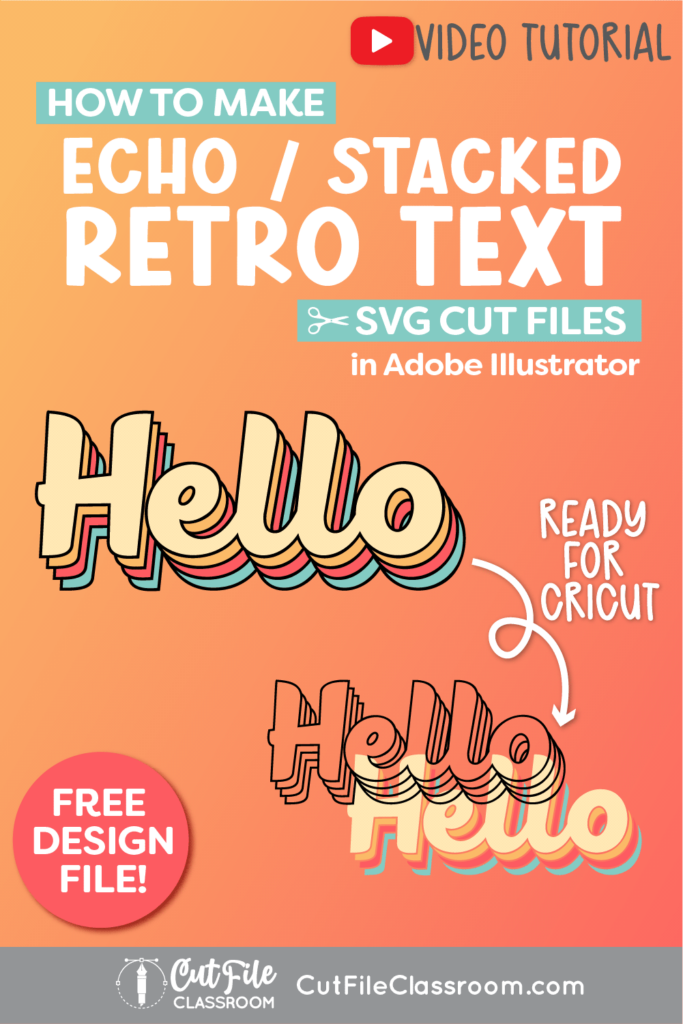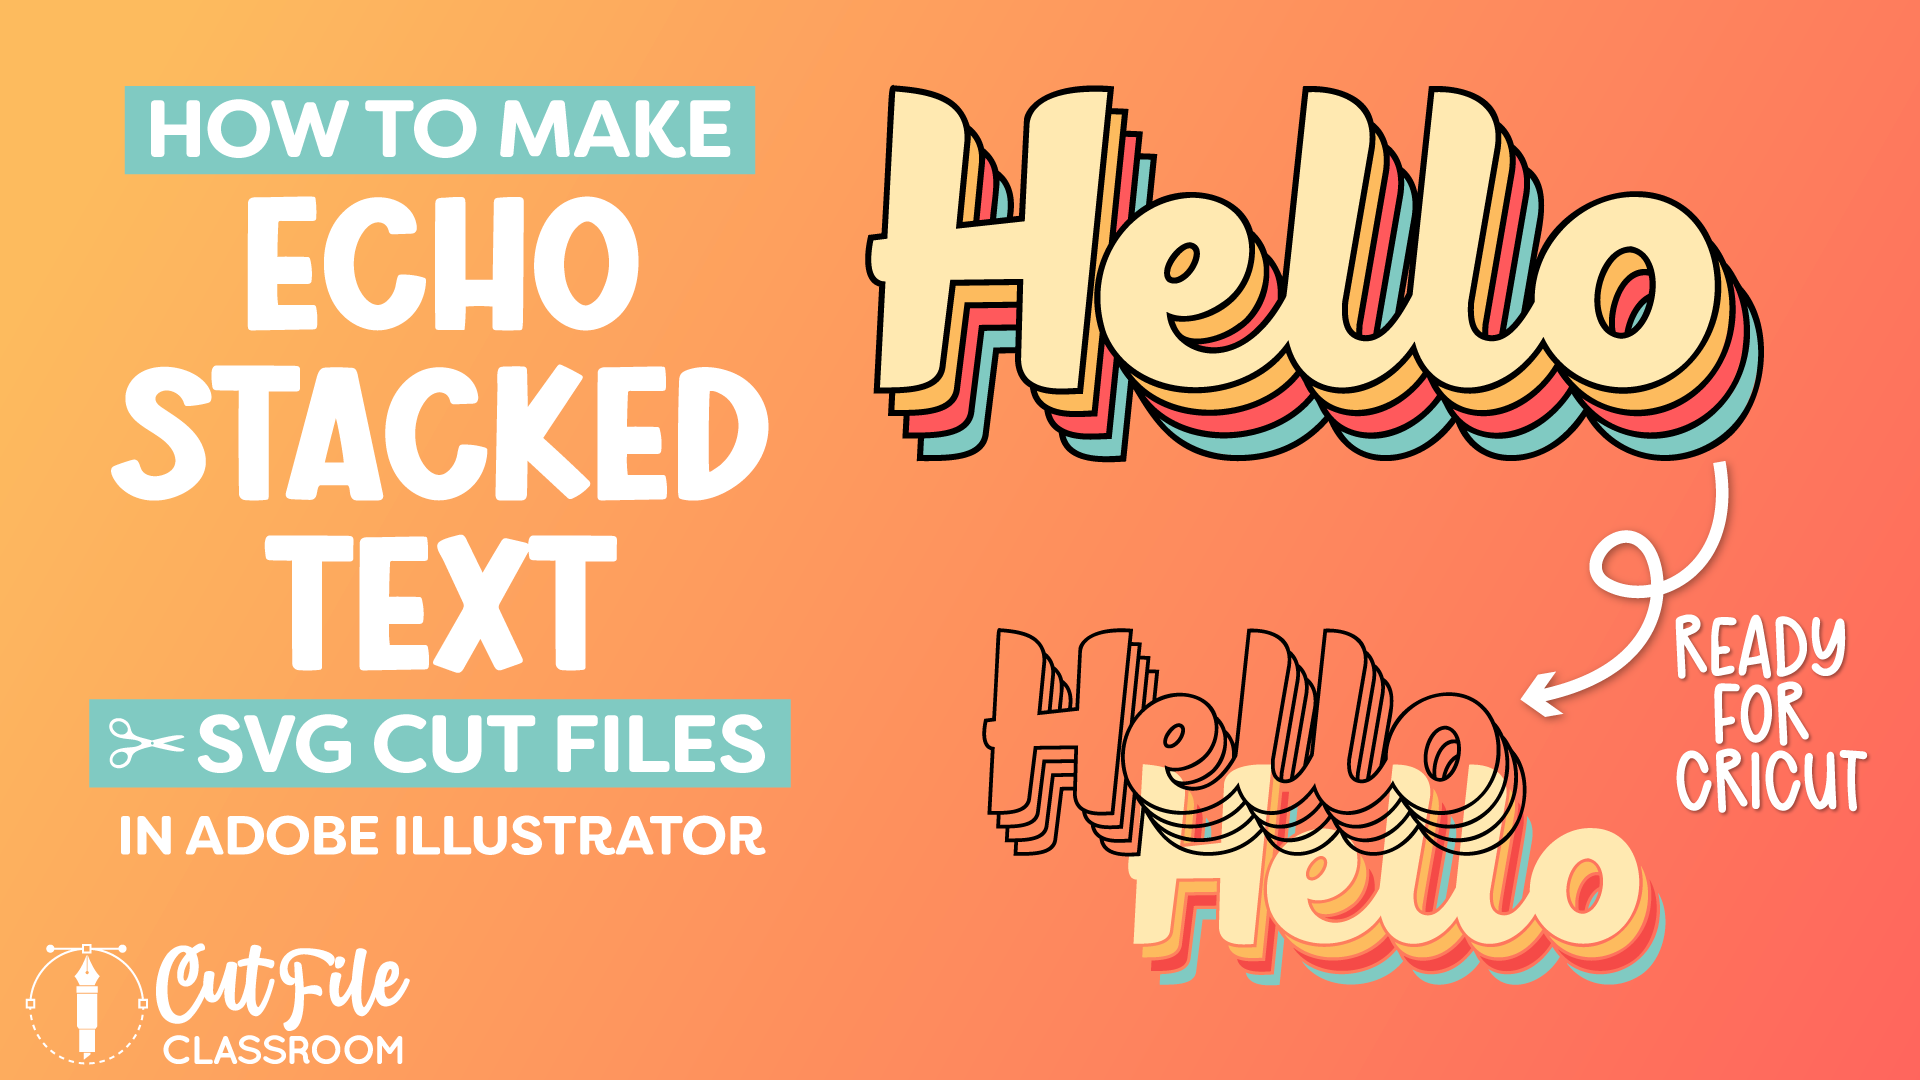
Echo text designs are currently popular in retro SVG files used for cutting machines like Cricut and Silhouette.
In this video, I’ll show you how to make echo text SVG files from scratch, so they are ready to cut in cutting machine software!
– Video Tutorial: How to Make SVG Files – Echo Stacked Text
If you prefer written step by step instructions instead of video, continue reading.
Download & Follow Along
Free Illustrator Practice File – CFC01:
To follow along and learn how to make Echo Text SVG Files for Cricut, download the free Adobe Illustrator practice file for this tutorial.
Includes the finished design, color palette, and Live Blend effect shown in this video.
Grab it from my Free Design Library: File# CFC01.
Want access to this free file? Join my FREE Design Library! All you need is the password, which you can get by filling out the form below!
Free Design Library!
Subscribe to my free newsletter and get instant access to my FREE Design Library, which includes this file and all other design tutorial files!
Enter your email and check your inbox for the password!
Fonts Used:
Written Overview: How to Make Echo Text SVG Files in Adobe Illustrator
To create echo text SVG files in Adobe Illustrator:
- Press T on your keyboard to select the Type tool, then click on the artboard, and begin typing the word for your design.
- Convert text into vector shapes by pressing CMMD SHIFT O on Mac / CTRL SHIFT O on Windows to Create Outlines of the text. Each letter will become a vector shape. (Don’t forget to save a copy of the Live text first, just in case you need to edit it later on!).
- Press SHIFT X to reverse the fill and stroke, resulting in black stroke lines for your letters,…then increase the Stroke weight as desired (I used 4pt).
- Select overlapping letters and click Unite in the Pathfinder panel to connect them.
- Select the full word and give it a fill color.
- With the word still selected, press ALT as you drag downward and slightly to the right to create a copy.
- Press CMMD SHIFT [ or CTRL SHIFT [ to send the copy to the back.
- Select the Blend tool from the Tool Panel and click on the top word and then the bottom word, to create blended copies in between the 2 original words.
- If you don’t get the number of copies that you want, you can double click on the Blend tool, and in the the Blend options window, make sure to click Specified Steps, then you can change the number to however many copies you want, and click Preview to see how it looks. (In this example, I used 2 copies.)
- Note: the Blend that we just applied, is actually a Live Effect, meaning that we can still make changes the original 2 objects, and the copies created between them will automatically update and adjust.
- However, to continue with this design as a cut file, we need to “Expand” this effect – which will convert the blended copies into actual vector objects. Using the Direct Section tool, click to select the blend, which is all 1 group, then head up to the Top Menu, and click Object > Blend > Expand. Now the copied words have now become vector shapes.
- Next you can apply different fill colors to each word. Since this is a group, double-click to work inside the group, and select each word, to apply fill colors to each one individually
- Expand the black stroke lines into vector shapes, by going to the Top Menu and clicking Object > Path > Outline Stroke.
- With everything still selected, click “Trim” in the Pathfinder Panel.
- Next, we need to make each color a compound path so the layers will import correctly in cutting software.
- Double-click on the Magic Wand Tool in the Tool panel to open the Magic Wand options, make sure Fill Color is checked, and change the Tolerance to 1.
- In your design, click on the top word color (cream) to select all of the same-colored areas in this design, press CMMD 8 / CTRL 8 to make them a Compound Path.
- Repeat this step for each color in the design (yellow, pink, teal) to make each color a compound path.
- Finally, click on the back outlines, click Unite in the Pathfinder panel to make them a single shape. Then press CMMD 8 / CTRL 8 to make them a compound path.
- To create echo text where the top layer is transparent, all you have to do is select this top fill color, and press Delete! Voila!
Now both echo text designs are ready to clean up and Save as SVG files.
If you found this SVG design tutorial helpful, Pin the image below to come back later, and to help other SVG designers!