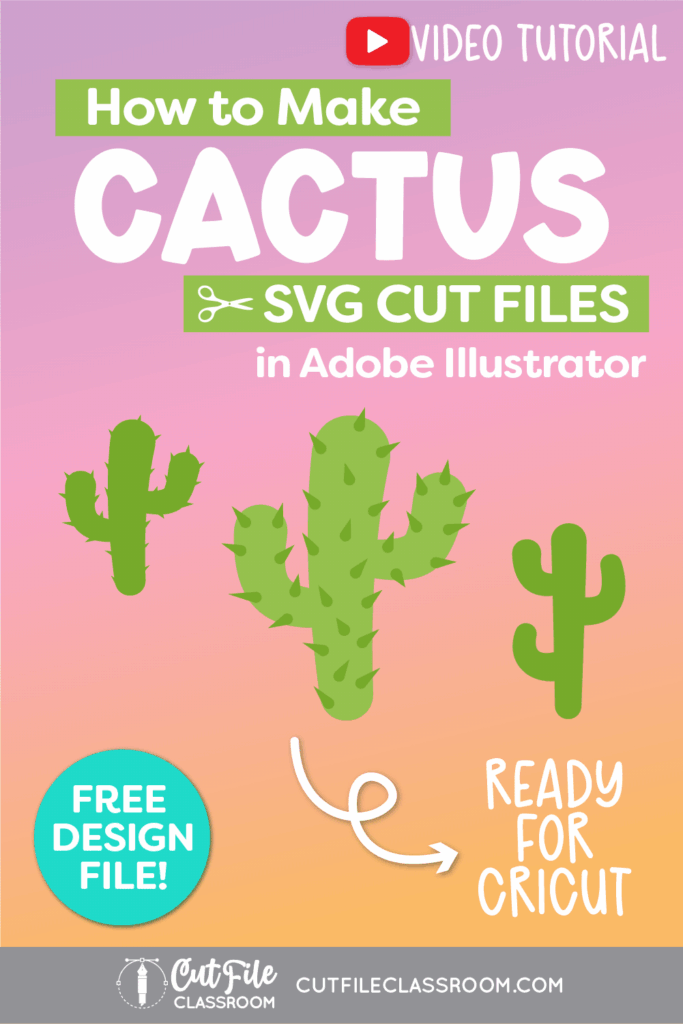
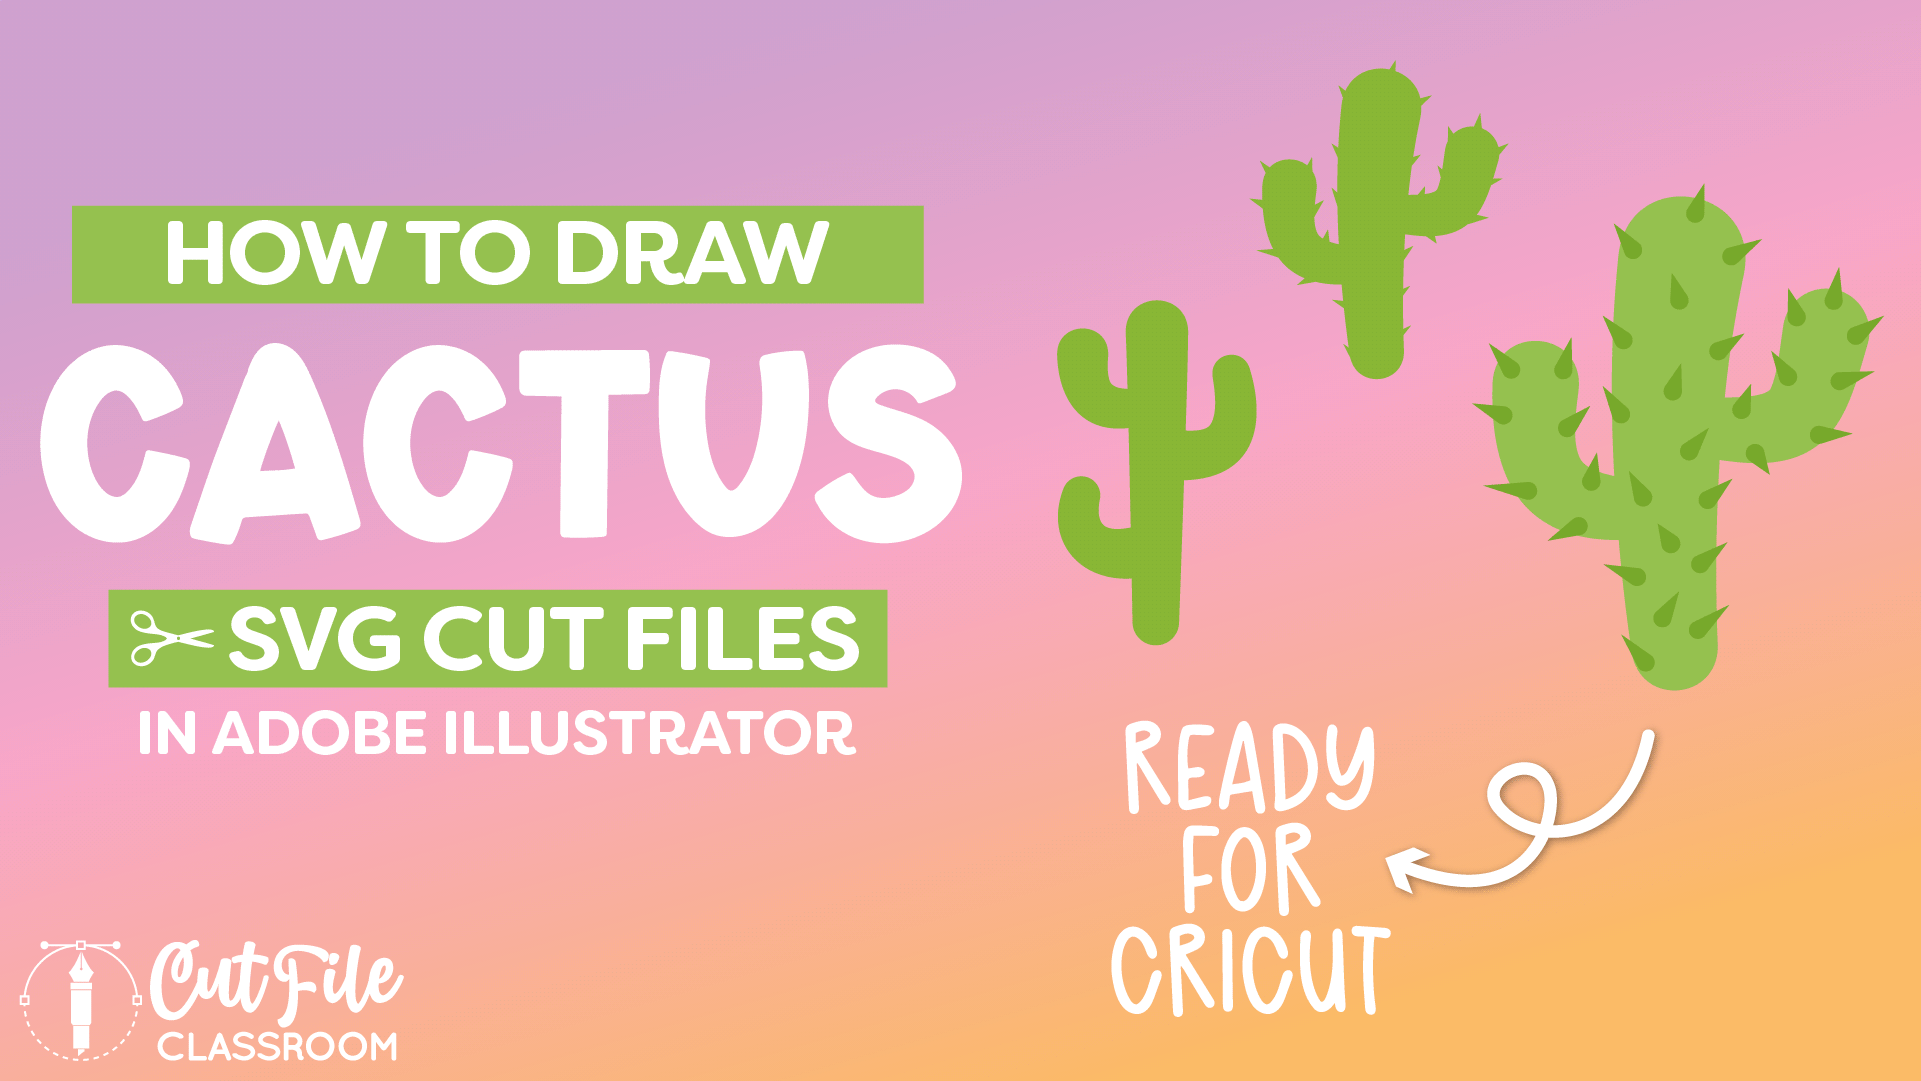
With the country / western theme going strong, learn how to draw a cactus SVG in Illustrator to add to your cowboy designs!
In this video, I’ll show how to draw a cactus SVG for Cricut and other cutting machines from scratch. Learn how to make your own SVG files for different materials like vinyl, HTV and cardstock!
If you want to follow along, I’ve included a link below where you can download this Illustrator practice file, which includes the color palette I used, the finished cactus SVGs, and a few of the working stages along the way.
Video Tutorial: How to Make SVG Files: Cactus
If you prefer written step by step instructions for how to draw a cactus SVG File in Illustrator instead of video, continue reading.
Download & Follow Along
Free Illustrator Practice File – CFC011:
To follow along and learn how to draw a cactus SVG in Illustrator, download the free Adobe Illustrator practice file for this tutorial.
Includes the finished designs, color palette, and working stages shown in this video.
Grab it from my Free Design Library: File # CFC011.
Want access to this free file? Join my FREE Design Library! All you need is the password, which you can get by filling out the form below!
Free Design Library!
Subscribe to my free newsletter and get instant access to my FREE Design Library, which includes this file and all other design tutorial files!
Enter your email and check your inbox for the password!
Written Overview: How to Draw a Cactus SVG File in Illustrator
Draw Cactus Body:
- Use the Pen tool (P) to draw a vertical path with a slight bend to it.
- Give the path a green stroke color, set the fill color to None. Increase the stroke weight to be the thickness you want your cactus spine to be (I used 60pt).
- Round the endpoints of the path by selecting the Round Cap option in the Stroke panel.
- Select the Width tool, then click the top point of the path and drag outward to make it wider, adding some character to the cactus shape (my increased stroke width is about 88pt).
- Make sure “New Art has Basic Appearance” is NOT checked in the Appearance panel menu.
- Use the Pen tool to draw curved paths for the arms of the cactus. Decrease the stroke weight of the cactus arms as desired (I used 60pt).
- Feel free to play around with the look of your cactus (make the spine taller or shorter, add more arms, adjust the width etc.).
- Once you’re happy with your cactus shape, make a copy off the artboard over to the side of the canvas. This allows you to come back and make changes or other cactus variations without starting from scratch.
- Back on the artboard, select the cactus then choose OBJECT > PATH > OUTLINE STROKE to convert the strokes into vector shapes.
- With the cactus still selected, in the Pathfinder panel, choose Unite to combine the arms and spine of the cactus into a single shape.
- Your cactus design can be complete at this stage – which is ideal for cutting at a smaller size, or cutting many copies. Or continue to the next step to add cactus needles.
Add Cactus Needles (Optional):
- Use the Line tool to draw a Vertical line near your cactus about the height you’d like your cactus needle to be.
- Apply a darker green stroke color, set fill color to None. Make the endpoints rounded by selecting the Round Cap option in the Stroke panel (optional).
- Use the Width tool to make the needle wider at the base by clicking the bottom point and dragging outward to increase the width of the path. Make sure the cactus needle width is not too skinny or it will be difficult to work with when cut from any material.
- Use the Width tool to make the needle pointy at the top by clicking the top point and dragging inward until it becomes a point.
- Make sure “New Art has Basic Appearance” is NOT checked in the Appearance panel menu. Then use the Line tool to draw cactus needles in varying directions over the cactus body. Tweak needle positioning and length as desired.
- Once you’re happy with your cactus needles, select them all and group them so they are easier to work with. Then make a copy over to the side of the Canvas for easy editing in the future.
- Back on the artboard, select the cactus needle group, and choose OBJECT > PATH > OUTLINE STROKE to convert the strokes into vector shapes.
- With the needles still selected, press CMMD 8 or CTRL 8 to make them a compound path (this will keep them in the correct placement in Cricut Design Space).
- Select the full cactus design, right-click and use Simplify to reduce extra anchor points without distorting your design. Click OK.
- Now your cactus design can be saved as an SVG to use with vinyl or HTV, but this design would not be user-friendly for paper / cardstock. See next step to design for cardstock.
Make Cactus Needles User-Friendly for Cardstock:
- Make a copy of the cactus design.
- Adjust placement of cactus needles as needed to ensure they stick out enough past the edge of the main cactus shape to be visible.
- Select full design, then click Unite in the Pathfinder panel. This creates a silhouette of the cactus design with the needles sticking out along the edges, which is easier to use with cardstock or vinyl.
Now you have cactus SVG files that are ready to cut in Cricut Design Space and other cutting programs. Download my Free Designer’s Guide to Error-Free SVGs to see my recommended settings for Saving SVG files.
Give this a try and come share your finished cactus designs (and any questions) in my free Facebook Group!
If you found this SVG design tutorial helpful, Pin the image below to come back later, and to help other SVG designers learn how to draw a cactus SVG file in Illustrator!