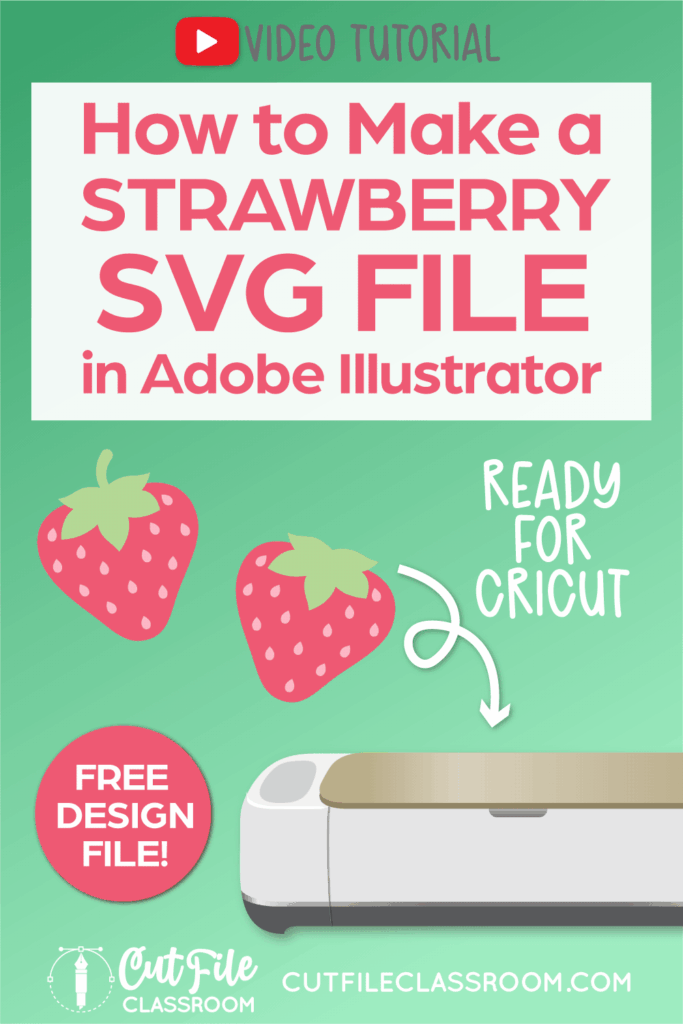
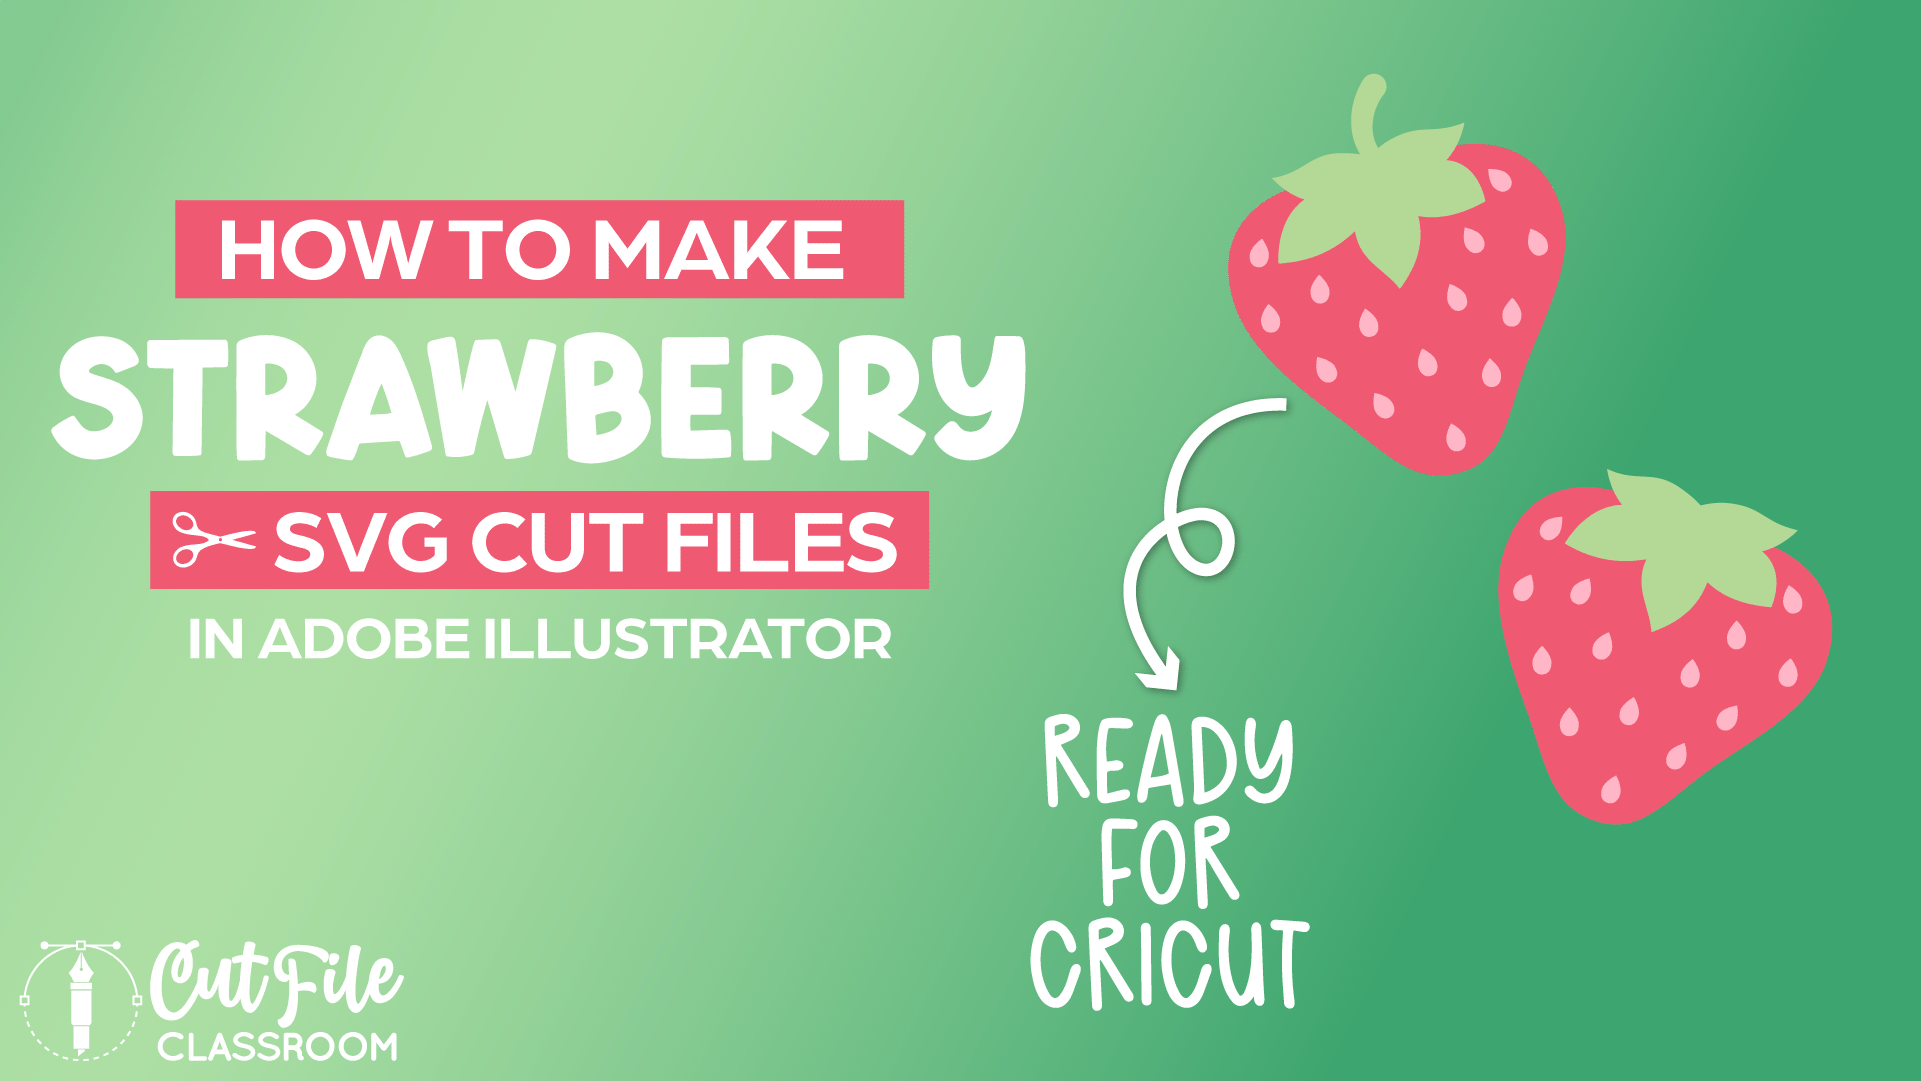
Learn how to draw strawberry SVG files from scratch and by the end, you’ll have an SVG that is ready to cut with a Cricut, Silhouette, or other cutting machine. It’s no secret that strawberries are definitely having a moment right now – from glass can wraps to t-shirts to stickers, and more, I’m sure you’ve seen them all over Etsy and in the stores when you’re out and about.
I’m also going to walk you through exactly how to build this strawberry SVG design differently for cardstock versus vinyl – because the material you’re cutting definitely changes how you should structure your cut files.
If you want to follow along, I’ll put the link below where you can download the free illustrator practice file which includes these finished strawberry SVG designs, and the working versions used to create them.
Video Tutorial: How to Make SVG Files for Cricut: Strawberry SVGs in Illustrator
If you prefer written step by step instructions for how to draw strawberry SVG Files for Cricut in Illustrator instead of video, continue reading.
Download & Follow Along
Free Illustrator Practice File – CFC017:
To follow along and learn how to draw Strawberry SVG Files for Cricut in Illustrator, download the free Adobe Illustrator practice file for this tutorial.
Includes the finished designs and color pallets shown in this video.
Grab it from my Free Design Library: File # CFC017.
Want access to this free file? Join my FREE Design Library! All you need is the password, which you can get by filling out the form below!
Free Design Library!
Subscribe to my free newsletter and get instant access to my FREE Design Library, which includes this file and all other design tutorial files!
Enter your email and check your inbox for the password!
Written Overview: How to Draw Strawberry SVG Files for Cricut
Draw Strawberry SVG:
- Press L to grab the Ellipse tool and draw an oval that is almost a circle, but slightly taller.
- Press SHIFT+C to grab the Convert Anchor Point Tool and click and drag on the bottom center anchor point of the oval to create a rounded corner at the bottom of the shape.
- Use Direct Selection tool to select and drag side anchor points upward.
- Use Convert Anchor Point tool and hold SHIFT and click on top anchor point to convert to corner point. Use Direct Selection tool to drag handles upward to create an angled “indent” at the top of the strawberry (where the stem would be). Optional: use Live Corner Widget at top of strawberry to create smooth, curved indent.
- To widen the strawberry shape on both sides without changing the height, use the Selection tool to select the cherry shape, then hold ALT / OPT as you click and drag one of the side handles of the bounding box.
- Optional: to create slight indents towards bottom sides of strawberry, use Pen tool (P ) and click on side path of strawberry to add an anchor point. Nudge anchor point inward and adjust handles to create a subtle and smooth “indent” at lower sides of strawberry. Repeat on other side.
Draw Leaves and Stem:
- To draw leaves, Press L to grab the Ellipse tool and draw a small horizontal oval near the top of the strawberry. Give a green fill color.
- Press SHIFT+C to grab the Convert Anchor Point Tool and click on the left and right anchor points of the green oval to convert to corner points, creating a leaf shape.
- Use selection tool to position leaf shape so it starts at center of the strawberry.
- Press R to grab the Rotate tool and click once on the inner anchor point of the leaf (this resets the center of rotation near the center of strawberry).
- Using Selection tool, click and drag original leaf shape, then hold ALT / OPT key as you drag to create a copy of the lead shape. When leaf copy is where you want it, release mouse.
- Repeat step 5, to create additional copies to create leaf cluster. (I created 5).
- Optional: use Convert Anchor point tool to add additional curves to the leaf shapes.
- To create stem, press P to grab the Pen tool. Place your cursor above strawberry where you want the top of the stem to begin.
- Click and drag downward to begin drawing the stem path. Click and release pen to place anchor point where you want the bottom of the stem to be.
- Use the Width tool to click and drag at the top endpoint of the stem to make it wider to add some variation to the stem path.
- To make stem and leaves cuttable, select stem path and choose Object > Path > Outline Stroke. This converts the stem into a vector shape.
- Select leaf shapes and stem shape and click Unite in Pathfinder panel to combine into a single cuttable shape.
Draw Strawberry Seeds:
- To draw seeds, Press L to grab the Ellipse tool and draw a small vertical oval. Give a pink fill color.
- Press SHIFT+C to grab the Convert Anchor Point Tool and click the top anchor point of oval to convert to a corner point, creating a tear drop shape for the seed.
- Use selection tool to position seeds on strawberry in staggered “polka dot” arrangement. Hold ALT / OPT while dragging to quickly create copies of the seeds and arrange around strawberry.
- From here, we can optimize the design in different ways depending on the material it will be cut from.
Make SVG for Paper Crafts:
- To make the strawberry SVG easy to layer with paper / cardstock, we need to create a “base” that makes it easier to assemble from paper.
- Select leaf/stem shape and press CMMD / CTRL C to make a copy, then CMMD / CTRL F to paste in Front. With the copied leaves still selected, press SHIFT and click on the strawberry shape to add them to your selection, and click Unite in the Pathfinder panel. This forms the base shape.
- If your base shape changed color, you may need to change it back to red.
- Since the seed shapes would be hard to assemble from cardstock, it’s better to “subtract” the seed shapes from the strawberry base and create a back layer for the seeds to show through.
- Select the seed shapes, and hold SHIFT to also select the strawberry base shape and click “Minus Front” in Pathfinder panel. This will subtract the seed shapes from the strawberry base shape.
- Select strawberry base shape and press CMMD / CTRL C to make a copy, then CMMD / CTRL F to paste in Front. Change fill color to pink.
- Use Group Selection tool and click to select the pink copied strawberry shape. Hold SHIFT and click on just the outer path of the shape to de-select it, leaving only the seed “cutouts” selected. Delete them, leaving just a solid strawberry base shape.
- Right click the pink strawberry base shape and choose Arrange > Send to Back to place it behind the original strawberry shape.
- Select red strawberry shape and choose Arrange > Send Backward to place it behind the leaf / stem shape.
- Now your strawberry SVG for paper is complete and ready to save as an SVG!
Make SVG for Vinyl Crafts:
- To make the strawberry SVG easy to layer with vinyl, select the seed shapes and choose Object > Compound Path > Make to make sure they cut correctly in cutting machine programs like Cricut Design Space.
- Select Leaf/ Stem shape and strawberry shape, and click Trim in the Pathfinder panel. This will trim out the overlapping areas of the design so they fit together like puzzle pieces.
- Select full design and group it together.
- Now your strawberry SVG for vinyl is complete and ready to save as an SVG!
Now you know how to draw strawberry SVG files that are ready to cut in Cricut Design Space and other cutting programs. Download my Free Designer’s Guide to Error-Free SVGs to see my recommended settings for Saving SVG files.
Give this a try and come share your finished strawberries (and any questions) in my free Facebook Group!
Want to learn how to design and sell any kind of SVG cut files from scratch in Illustrator? My upcoming SVG design course will cover everything you need to know! Join the Cut File Academy Waitlist to stay tuned!
If you have any requests for future SVG tutorials, drop a comment below – I’d love to hear ’em!
If you found this SVG design tutorial helpful, Pin the image below to come back later, and to help other SVG designers learn how to draw Strawberry SVG files for Cricut in Illustrator and other cutting machines!