Sharpen your skills just in time for back-to-school season – with pencil SVGs that are cut-ready for Cricut!
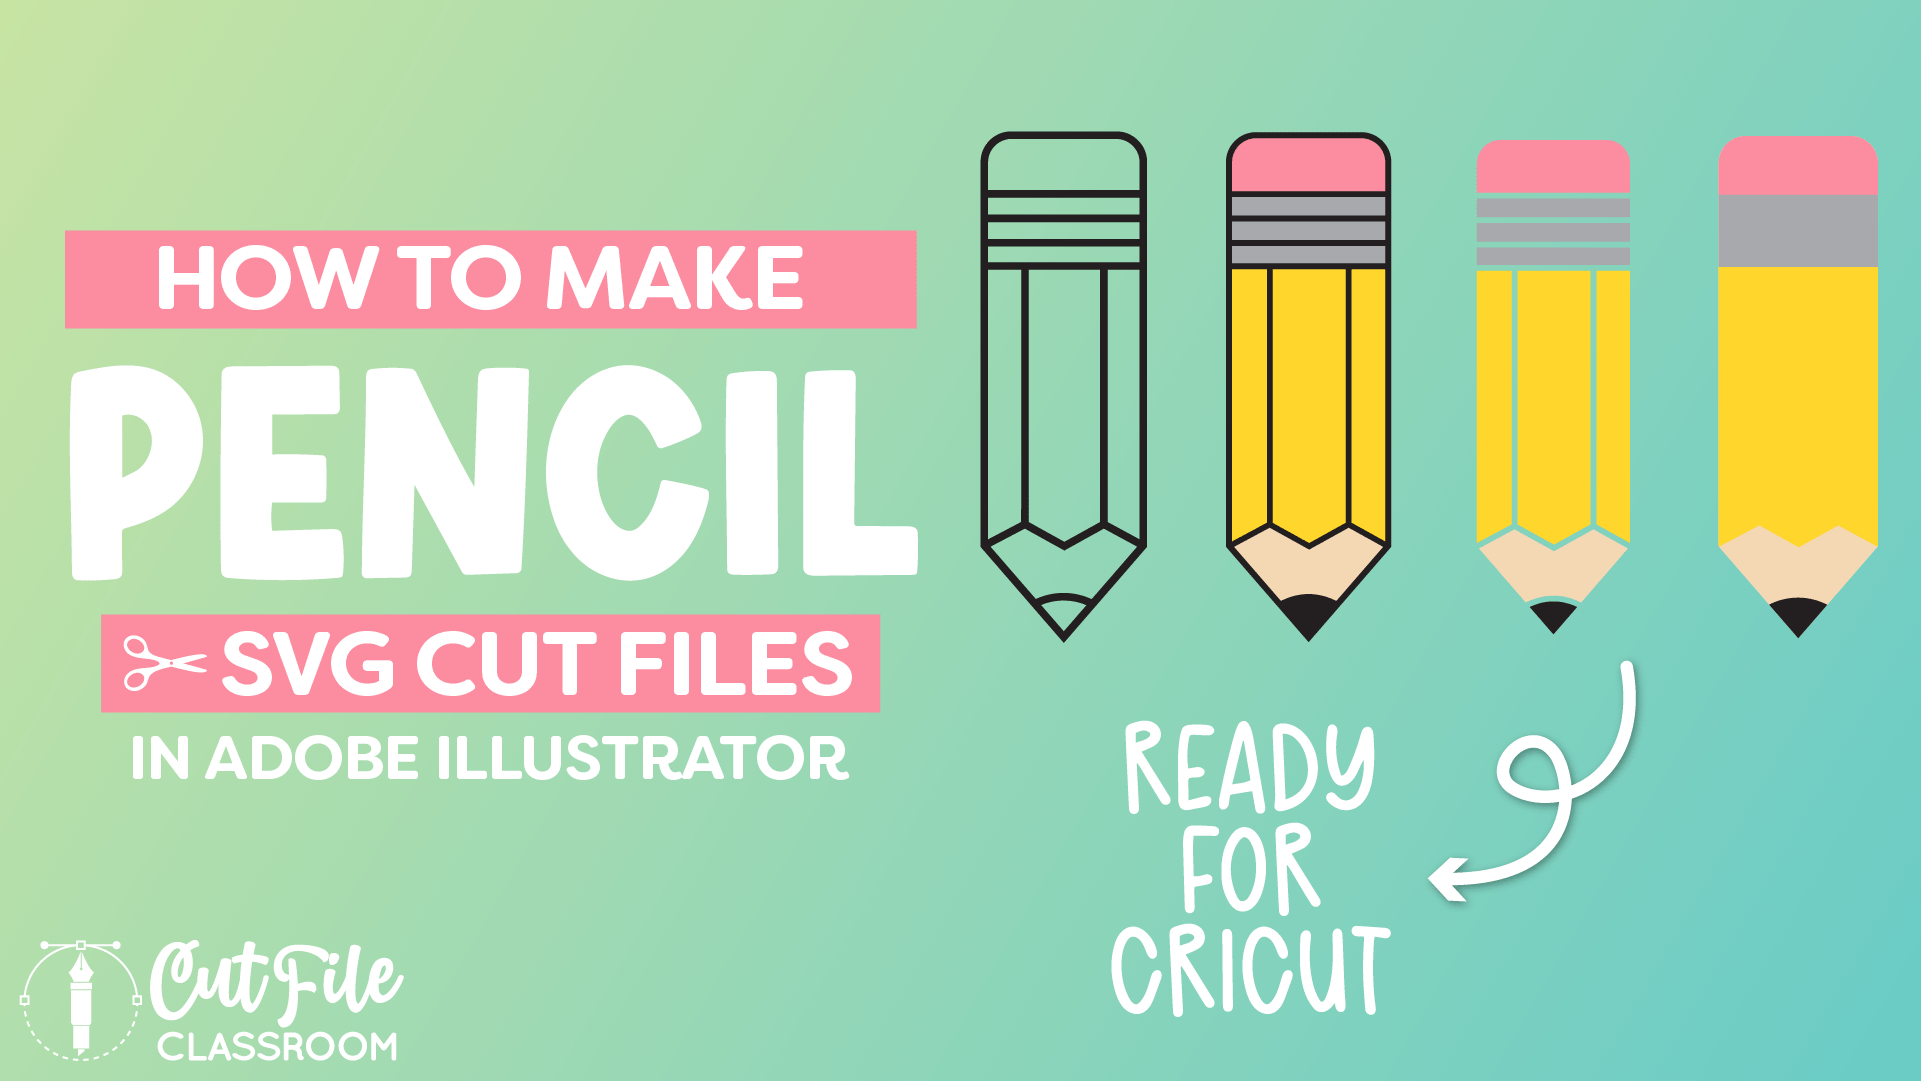
In this video, I’m showing how to make Pencil SVG Files in Illustrator for Cricut and other cutting machines from scratch. Learn how to design SVG files for different materials like vinyl, HTV and cardstock!
If you want to follow along, I’ve included a link below where you can download this Illustrator practice file, which includes the color palette I used, the finished pencil SVGs, and the working stages for creating each type of pencils in Illustrator.
Video Tutorial: How to Create Pencil SVG Files
If you prefer written step by step instructions for how to make pencil SVG Files in Illustrator instead of video, continue reading.
Download & Follow Along
Free Illustrator Practice File – CFC010:
To follow along and learn how to make a pencil SVG in Illustrator, download the free Adobe Illustrator practice file for this tutorial.
Includes the finished designs, color palette, and working stages shown in this video.
Grab it from my Free Design Library: File # CFC010.
Want access to this free file? Join my FREE Design Library! All you need is the password, which you can get by filling out the form below!
Free Design Library!
Subscribe to my free newsletter and get instant access to my FREE Design Library, which includes this file and all other design tutorial files!
Enter your email and check your inbox for the password!
Written Overview: How to Make Pencil SVG Files in Illustrator
Draw Pencil Shape :
- Use the Rectangle tool (M) to draw a vertical rectangle about the size you want your pencil to be.
- Set fill color to “None” and use a black stroke. Thicken stroke weight (I used 7pt).
- Make sure Smart Guides are turned on, then use Pen Tool (P) to place an anchor point in the center of the bottom rectangle path.
- Use the Direct Selection tool (A) to select new anchor point and drag downward to create pencil point.
- Using Direct Selection tool, select top 2 anchor points of rectangle. Click and drag the corner widgets to create rounded corners at the top corners – this is the eraser end of the pencil.
- Select the Line Segment tool ( \ ), and draw 3 horizontal lines across the pencil near the top to create the metal piece that holds the eraser. To draw a line, click and drag across the rectangle shape while holding SHIFT to keep your line horizontal.
- Draw another line across the bottom of the pencil, and a final line across the point of the pencil.
- Use the Anchor Point tool (SHIFT+C) to click and drag upward on the line at the point of the pencil to give it a slight curve.
- Select the line at the bottom of the pencil and choose EFFECT > DISTORT & TRANSFORM > ZIG ZAG. Adjust the settings to change how the zigzag looks. (I used “Ridges per Segment” set at 5, and “Size” set at 0.15in.). Click OK.
- Expand zigzag line (OBJECT > EXPAND APPEARANCE), to work with anchor points individually. Adjust zigzag as desired to fit across bottom of pencil.
- Using Line Segment tool, draw vertical lines from the zigzag points up to the vertical lines at the top of the pencil.
- Your pencil vector shape is complete! This path drawing can also be used as a Single Line SVG, which can be used with a Pen tool in a Cricut machine to draw the design, instead of cut.
Pencil 2 (Pencil Outline):
- Make a copy of the original pencil shape over to the side of the canvas for easy editing later.
- We need to create outlines of these paths to be able to use as a cutting file. Select the pencil shape, and choose OBJECT > PATH > OUTLINE STROKE.
- With shapes still selected, choose UNITE in the Pathfinder panel to combine shapes (this is a compound shape).
- Your pencil outline cut file is complete!
Pencil 3 (ideal for Vinyl / HTV):
- Make a copy of previous pencil outline design.
- Use Selection tool (V) to select full pencil outline design, then use Group Selection tool to click on outer path edge to DE-select it, leaving only the inner vector shapes selected.
- Use CMND+X / CTRL+X to CUT the selected inner shapes, leaving just the pencil silhouette behind.
- Use Paste in Front (CMND+F / CTRL+F) to paste the inner shapes on top of the background silhouette.
- With shapes still selected, right click and choose “Group” to group shapes together.
- Double click the grouped shapes to work in Isolation Mode. Select and apply color to the shapes in the group. (Yellow for pencil body, pink for eraser, etc…)
- To make pieces cut in the correct placement in Cricut Design Space. Select all like-color shapes and make into Compound Paths (CMMD+8 / CTRL+8).
- Your Pencil is complete!
Pencil 4 (ideal for Vinyl / HTV):
- Click to select the grouped pencil shapes from the previous design and make a copy.
- This leaves you with the pencil designs without a background, which is more user-friendly for crafters who are new to layering vinyl.
- Your Pencil is complete!
Pencil 5 (ideal for Cardstock):
- Create a copy of the original pencil vector design.
- For simplicity, delete extra pencil details.
- Select outer pencil path and press SHIFT+X to reverse stroke and fill. Change fill color from black to peach.
- Make sure that remaining black lines extend slightly past outer path edges.
- Then select complete shape (base layer + black lines) and in Pathfinder panel, choose DIVIDE, which slices peach base layer into separate shapes.
- Apply colors to separated shapes (yellow for pencil body, pink for eraser, etc).
- To create a base shape to layer cardstock pieces, select separate shapes, then Copy and Paste in Front. With copied shapes still selected, choose UNITE in the Pathfinder panel to form a single shape that will be the base shape.
- Right click on the base shape and choose ARRANGE > SEND TO BACK.
- Your Pencil is complete!!
Now you have make pencil SVG files that are ready to cut in Cricut Design Space and other cutting programs. Download my Free Designer’s Guide to Error-Free SVGs to see my recommended settings for Saving SVG files.
Give this a try and come share your finished pencils (and any questions) in my free Facebook Group!
If you found this SVG design tutorial helpful, Pin the image below to come back later, and to help other SVG designers learn how to make pencil SVG files in Illustrator!